Overview
Agents let you build and execute compliance workflows that connect any piece of your compliance. For example, agents can:
- Evaluate complaint responses against your regulatory requirements and compliance standards
- Evaluate marketing content relative to your regulatory requirements and compliance standards
- Test disclosures relative to your regulatory requirements
- Keep your compliance documents up-to-date with regulatory changes
Agents versus Chat
The primary benefit of agents is that they are “on rails.” While models in Chat may give you different outputs based on slight variation in your prompts, Agents allow you to lock in your prompt and store it so you can get a predictable output from the Agent each time you use it. A useful way to think about Agents in Crosswise is that they are initiated by some sort of trigger (an input, a change, or a schedule), then run through a Process to produce one or more Outputs (a new policy, suggested changes, a test result, etc.).Building and Editing Agents
Building an agent consists of two steps: first you need to create a “Workflow Spec.” The Workflow Spec is the set of instructions that your agent is going to follow. Once you’ve created the instructions, you’re going to copy and paste them into your agent.Step 1: Create Your Workflow Spec
First navigate over the Chat page, and select the Workflow Spec Persona.IMPORTANT: Selecting the Workflow Spec Persona is critical to creating a functioning agent.
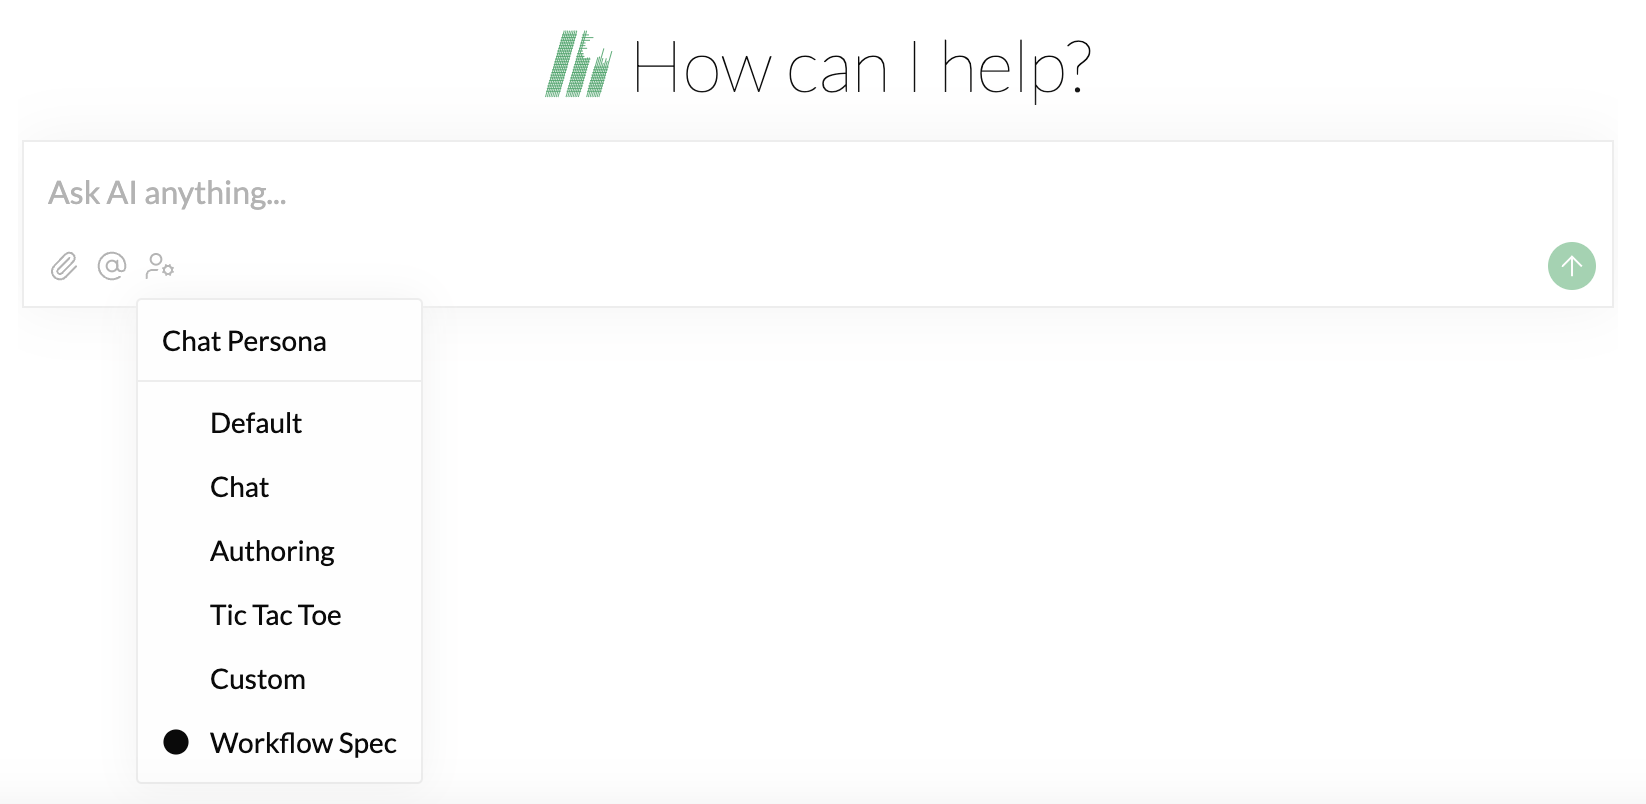 Once you’ve selected this Persona, you can create a really simple prompt to generate your agent. For example:
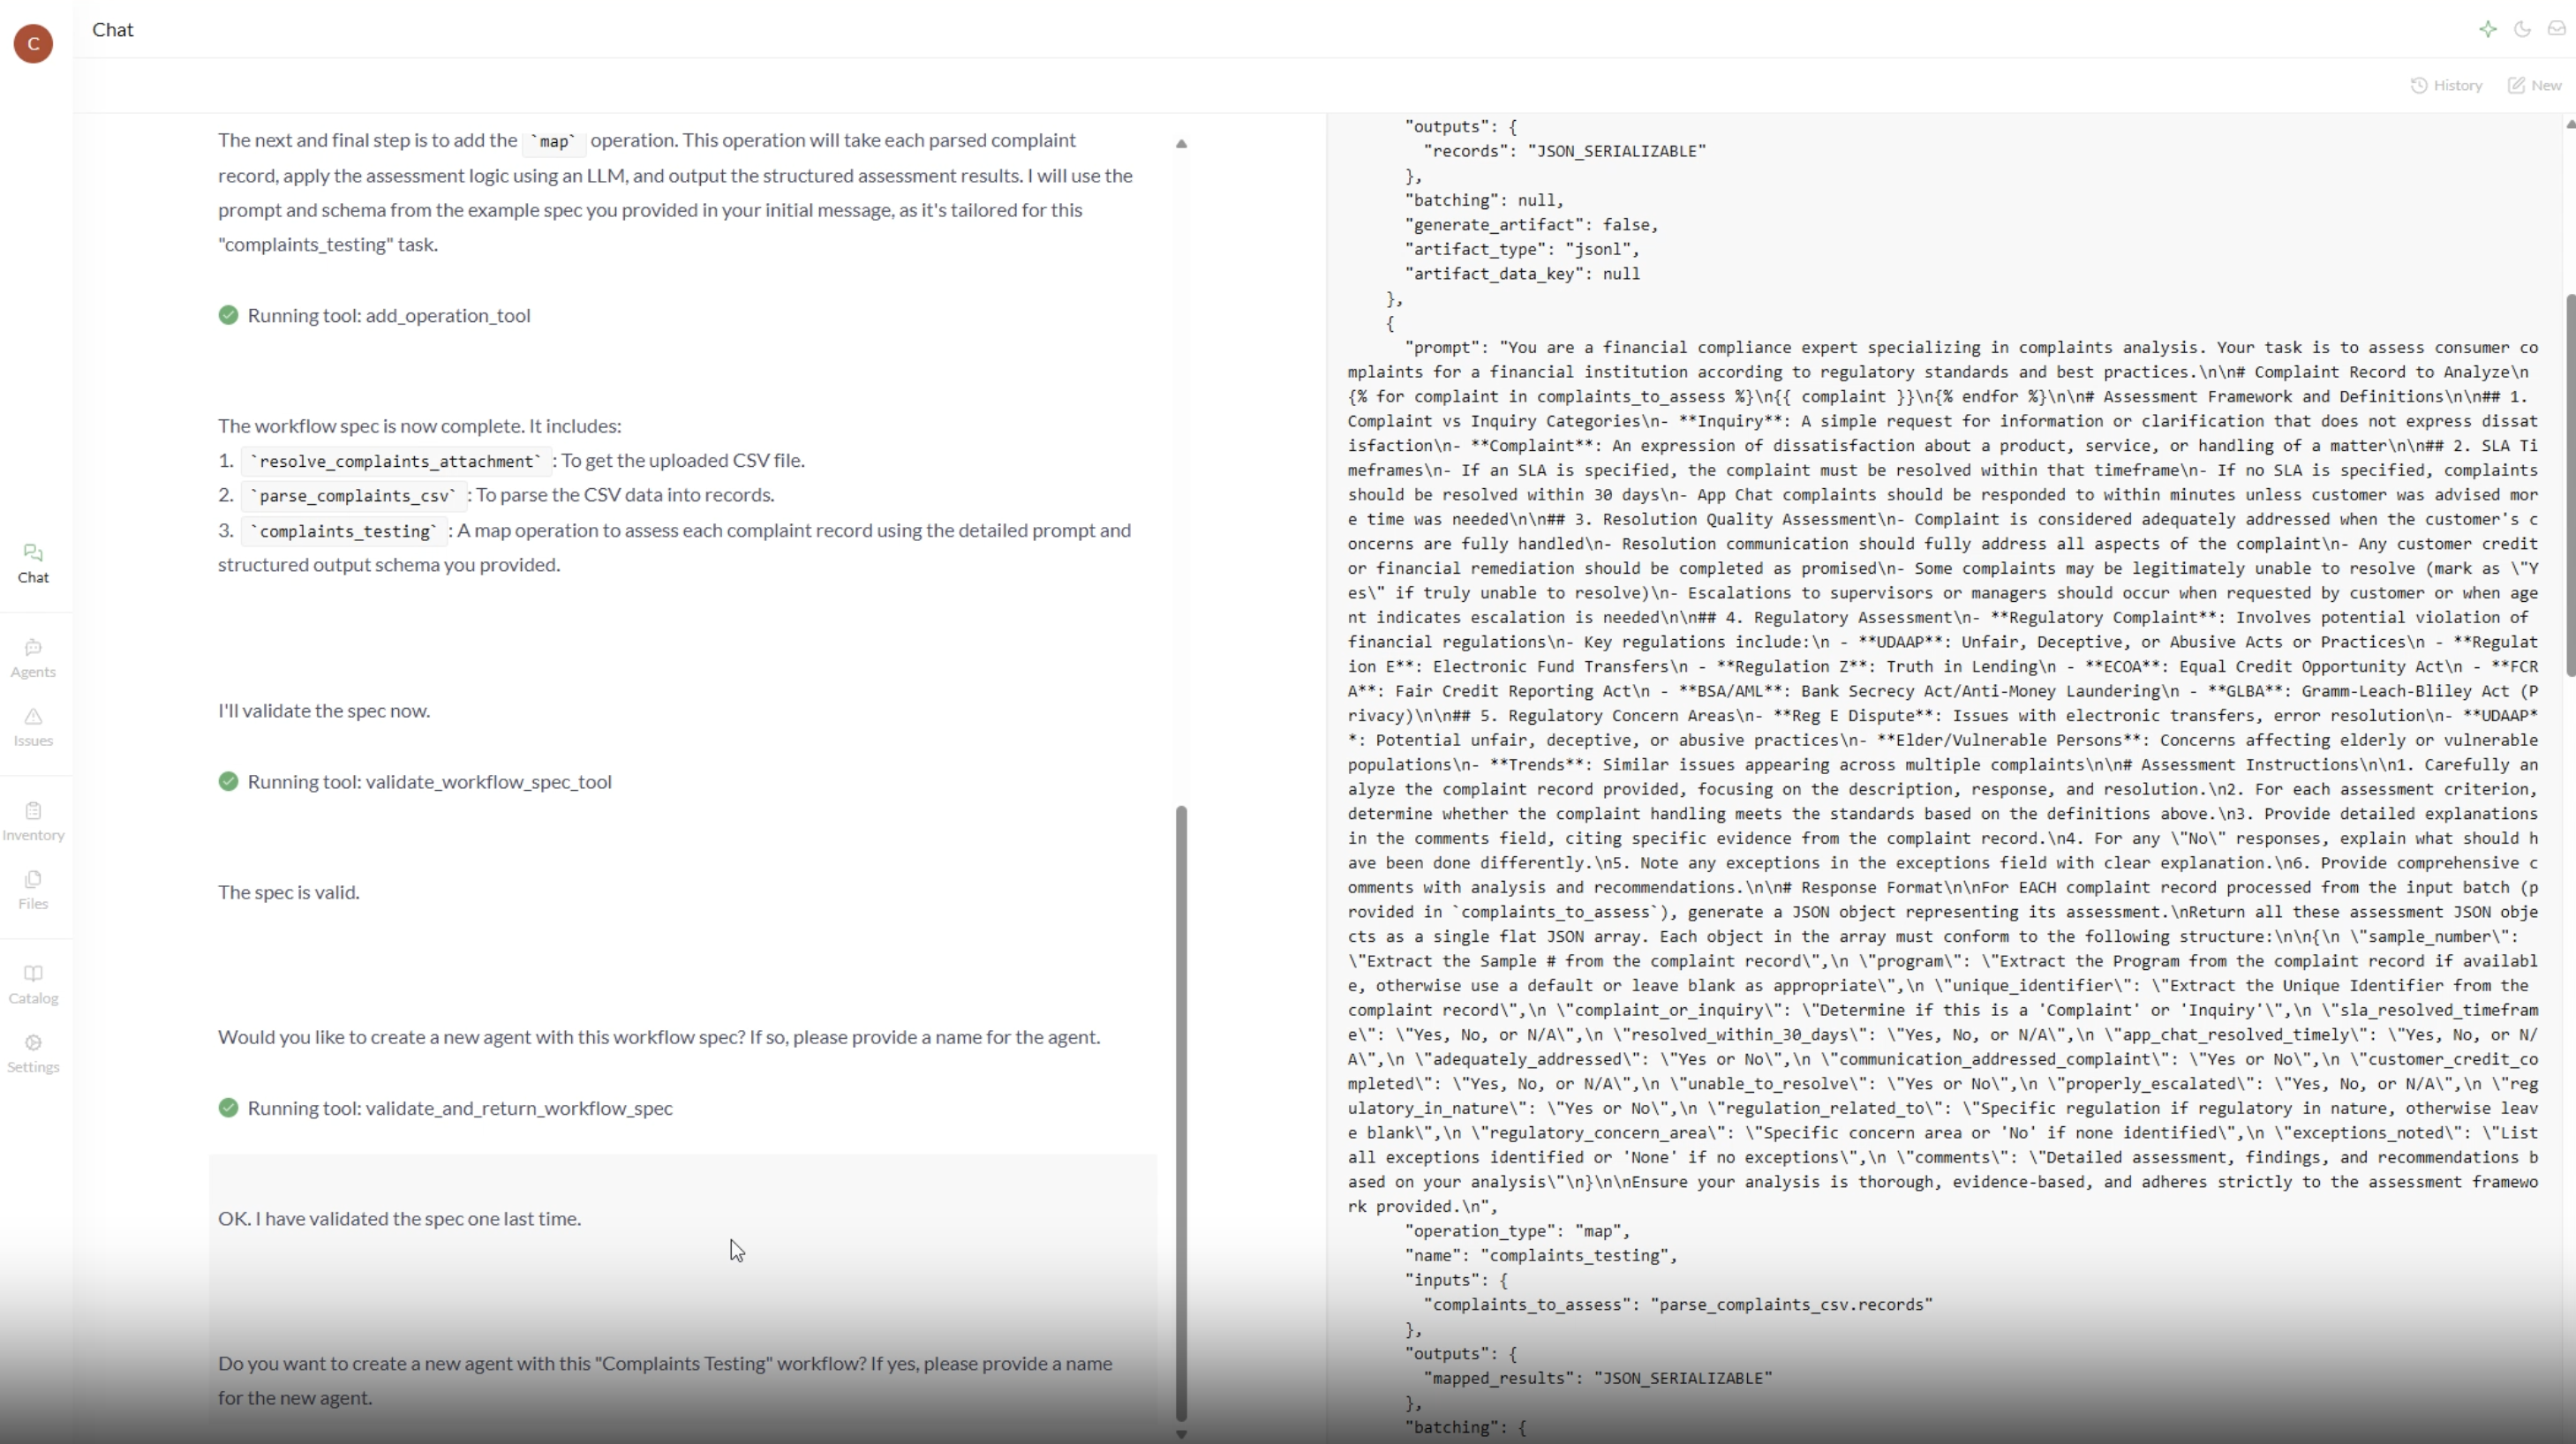
Help me generate a workflow spec for ” Complaints Testing”. The goal is to use an input csv, plus the @Complaints Procedure to generate an output csv. A sample input and output csv are attached. The input csv contains information in several columns, with a number of empty columns. The output csv should “fill in” those columns for each row using the input file plus the referenced Complaints Procedure.Once you send your message, the chat model will go about building your workflow spec. This can take up to a few minutes.
 You’ll see some activity in the chat that walks you through what the model is doing, and then you’ll see your spec being built on the right side of your screen. Once complete, copy the spec from the right pane to your clipboard.
Step 2: Add Your Workflow Spec to an Agent
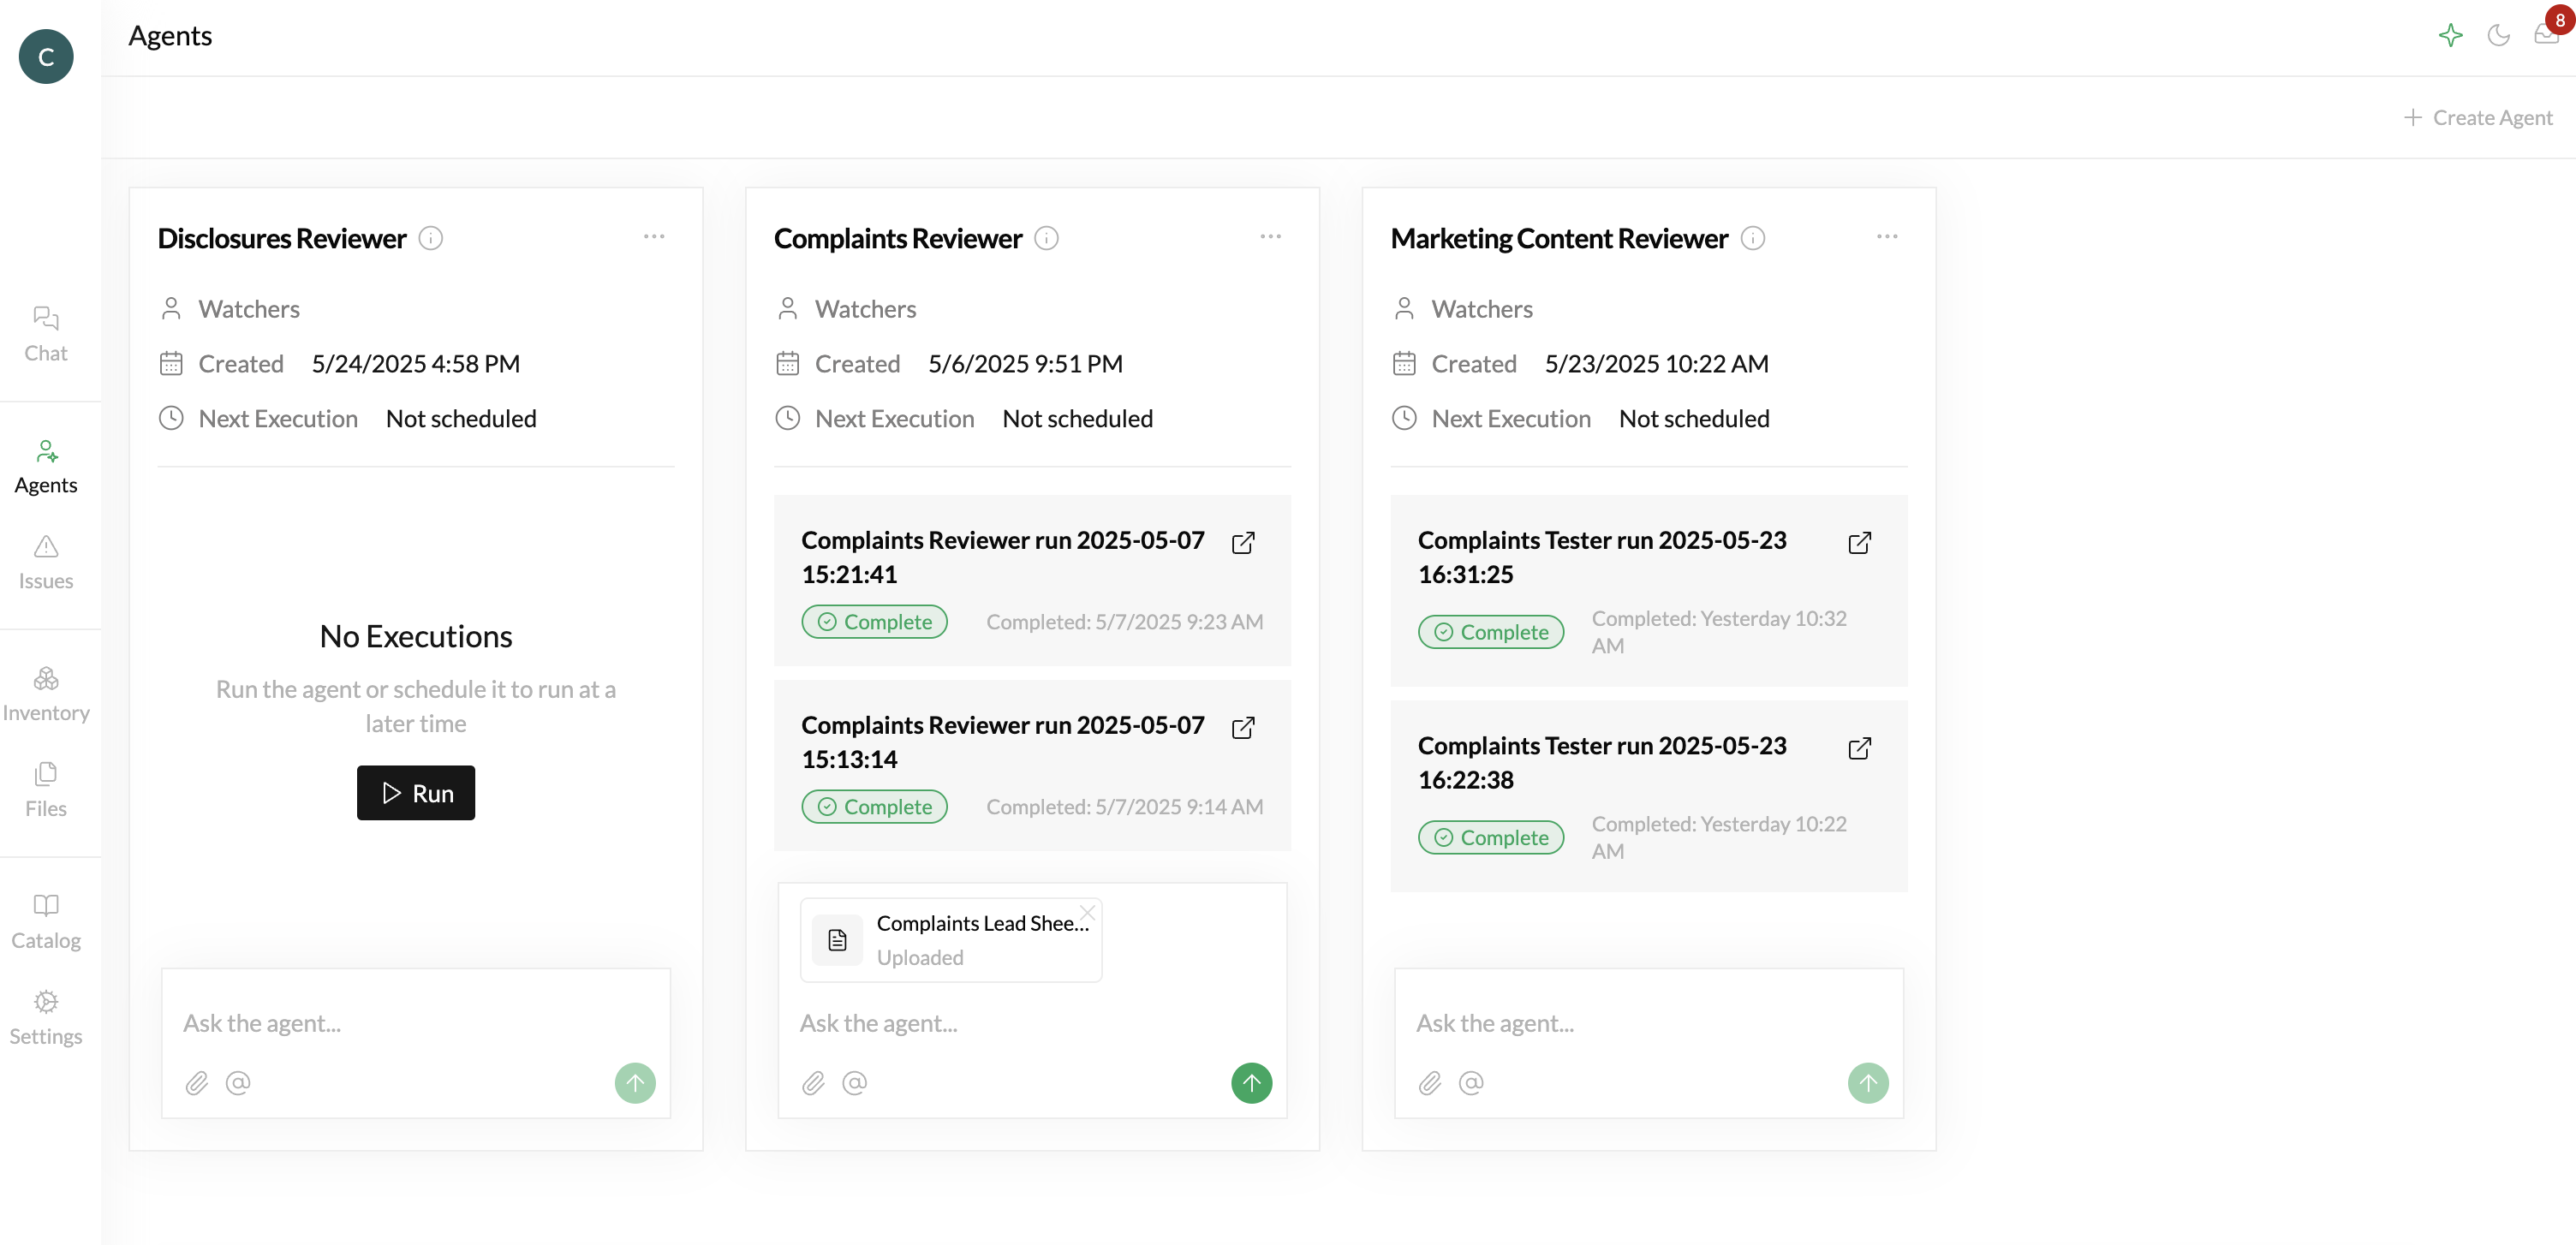
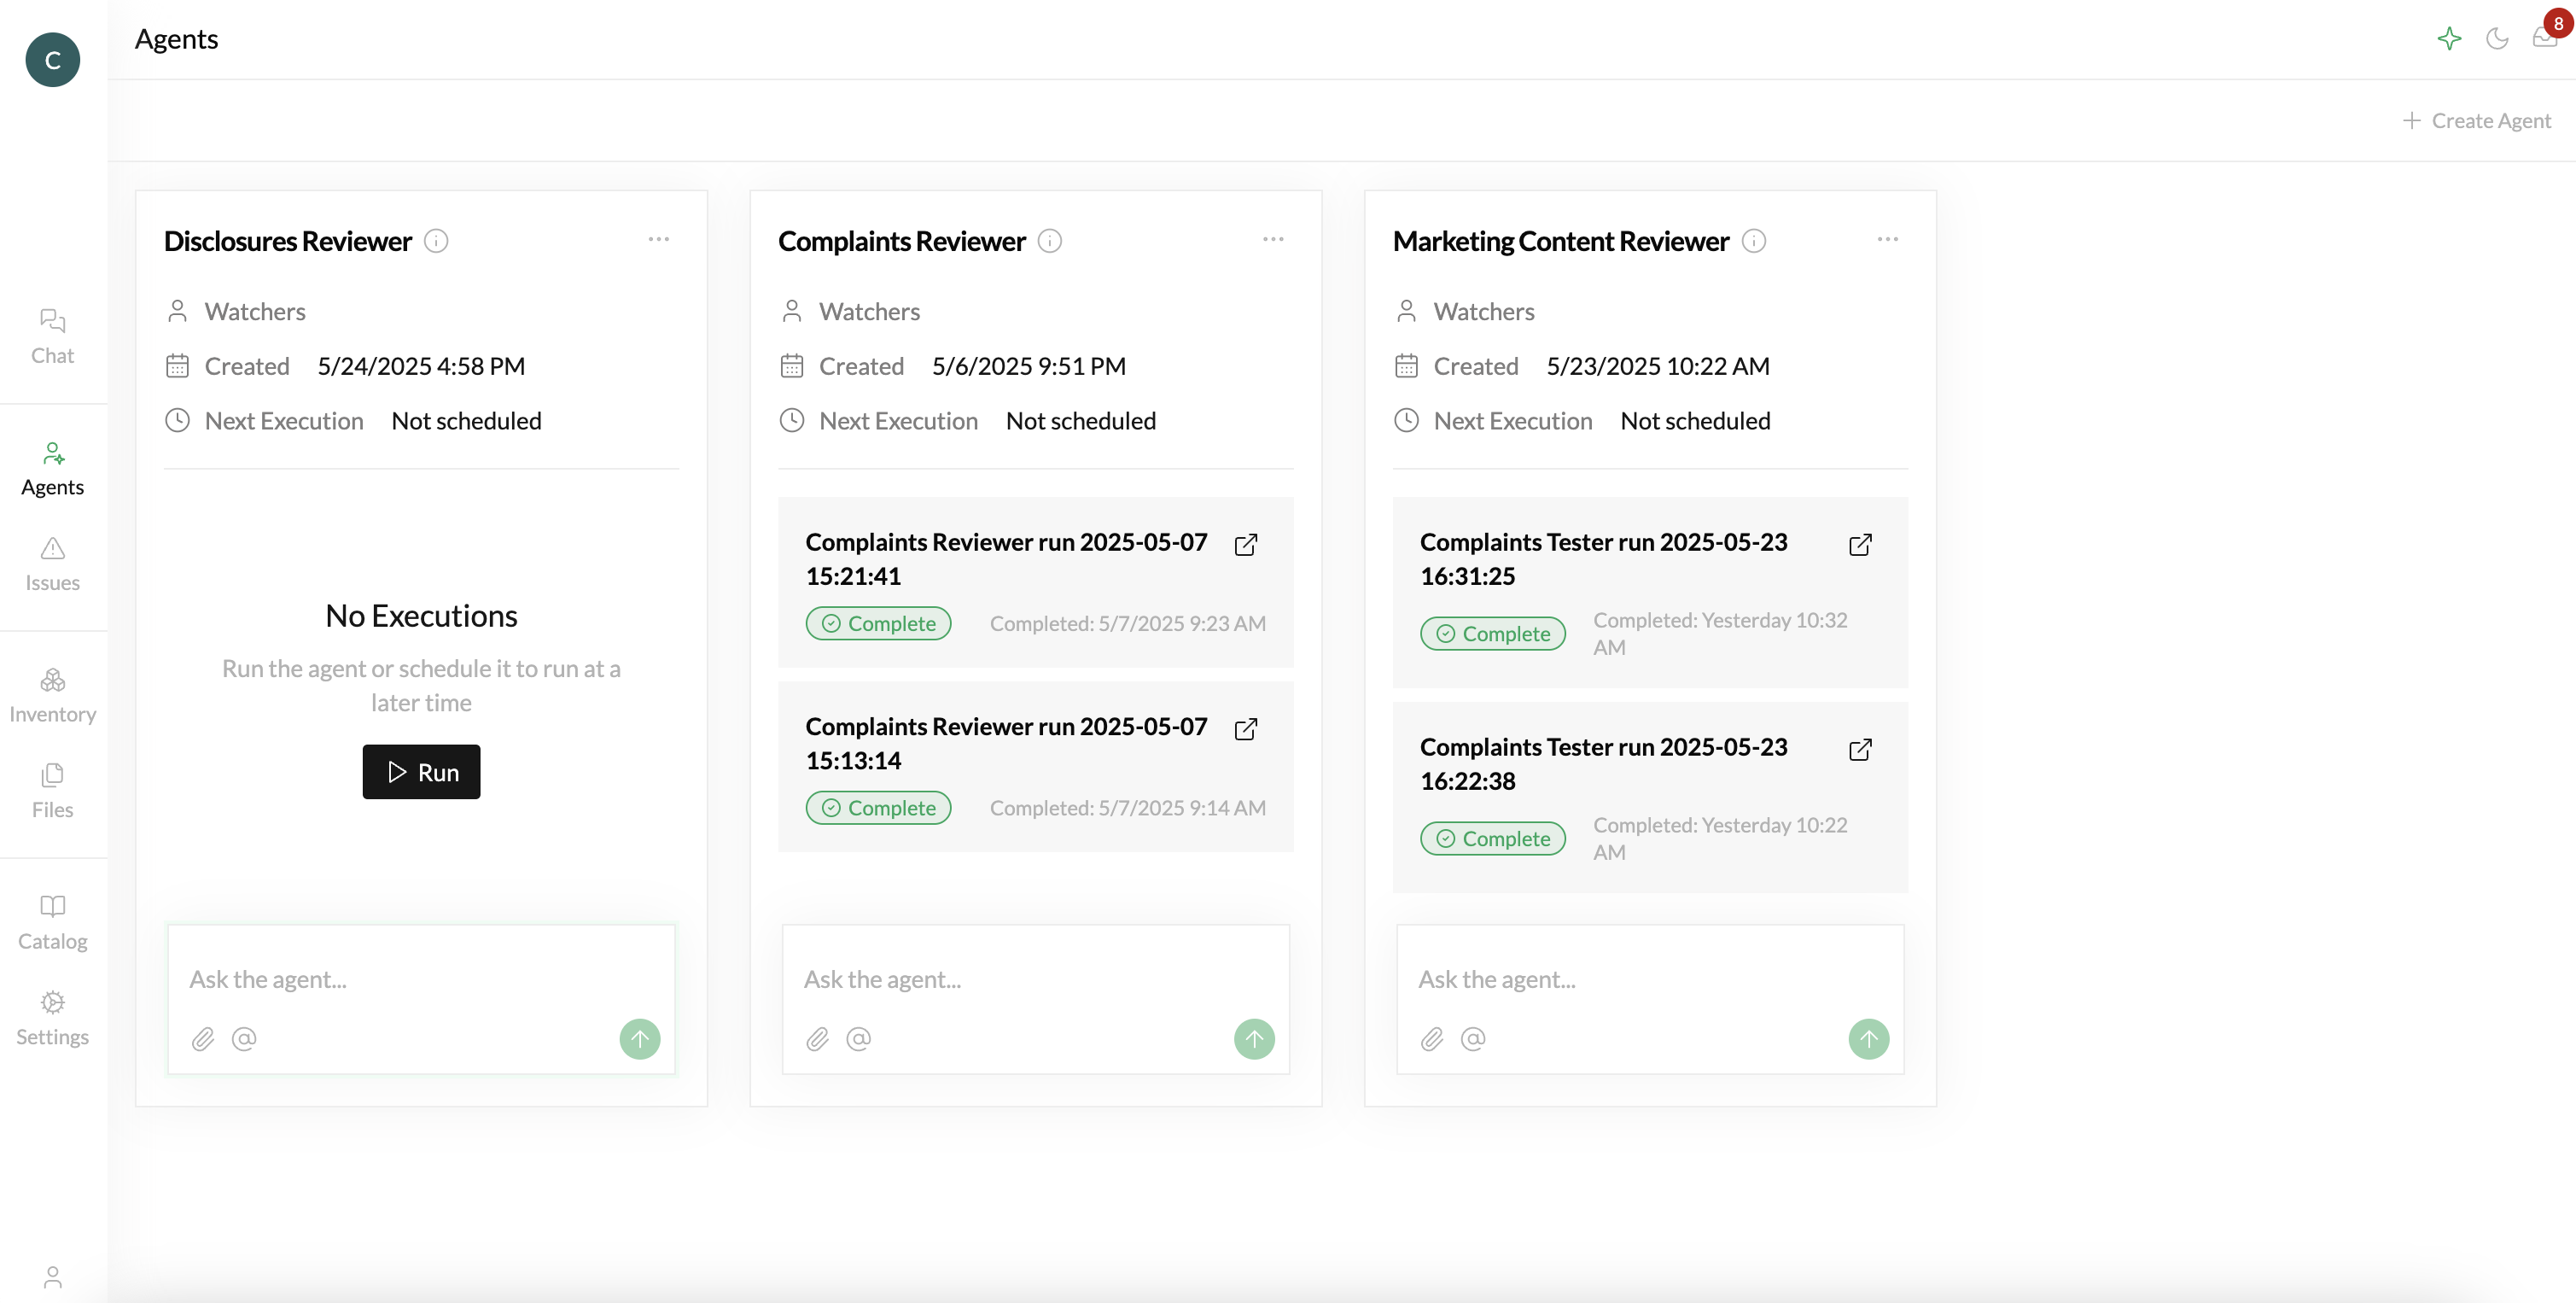
Now go to the Agents tab, and click “Create Agent” in the top right of your screen. From there, you’ll copy and paste the workflow spec into the “Advanced (JSON)” tab, and then click the “Create Agent” button and you’re done.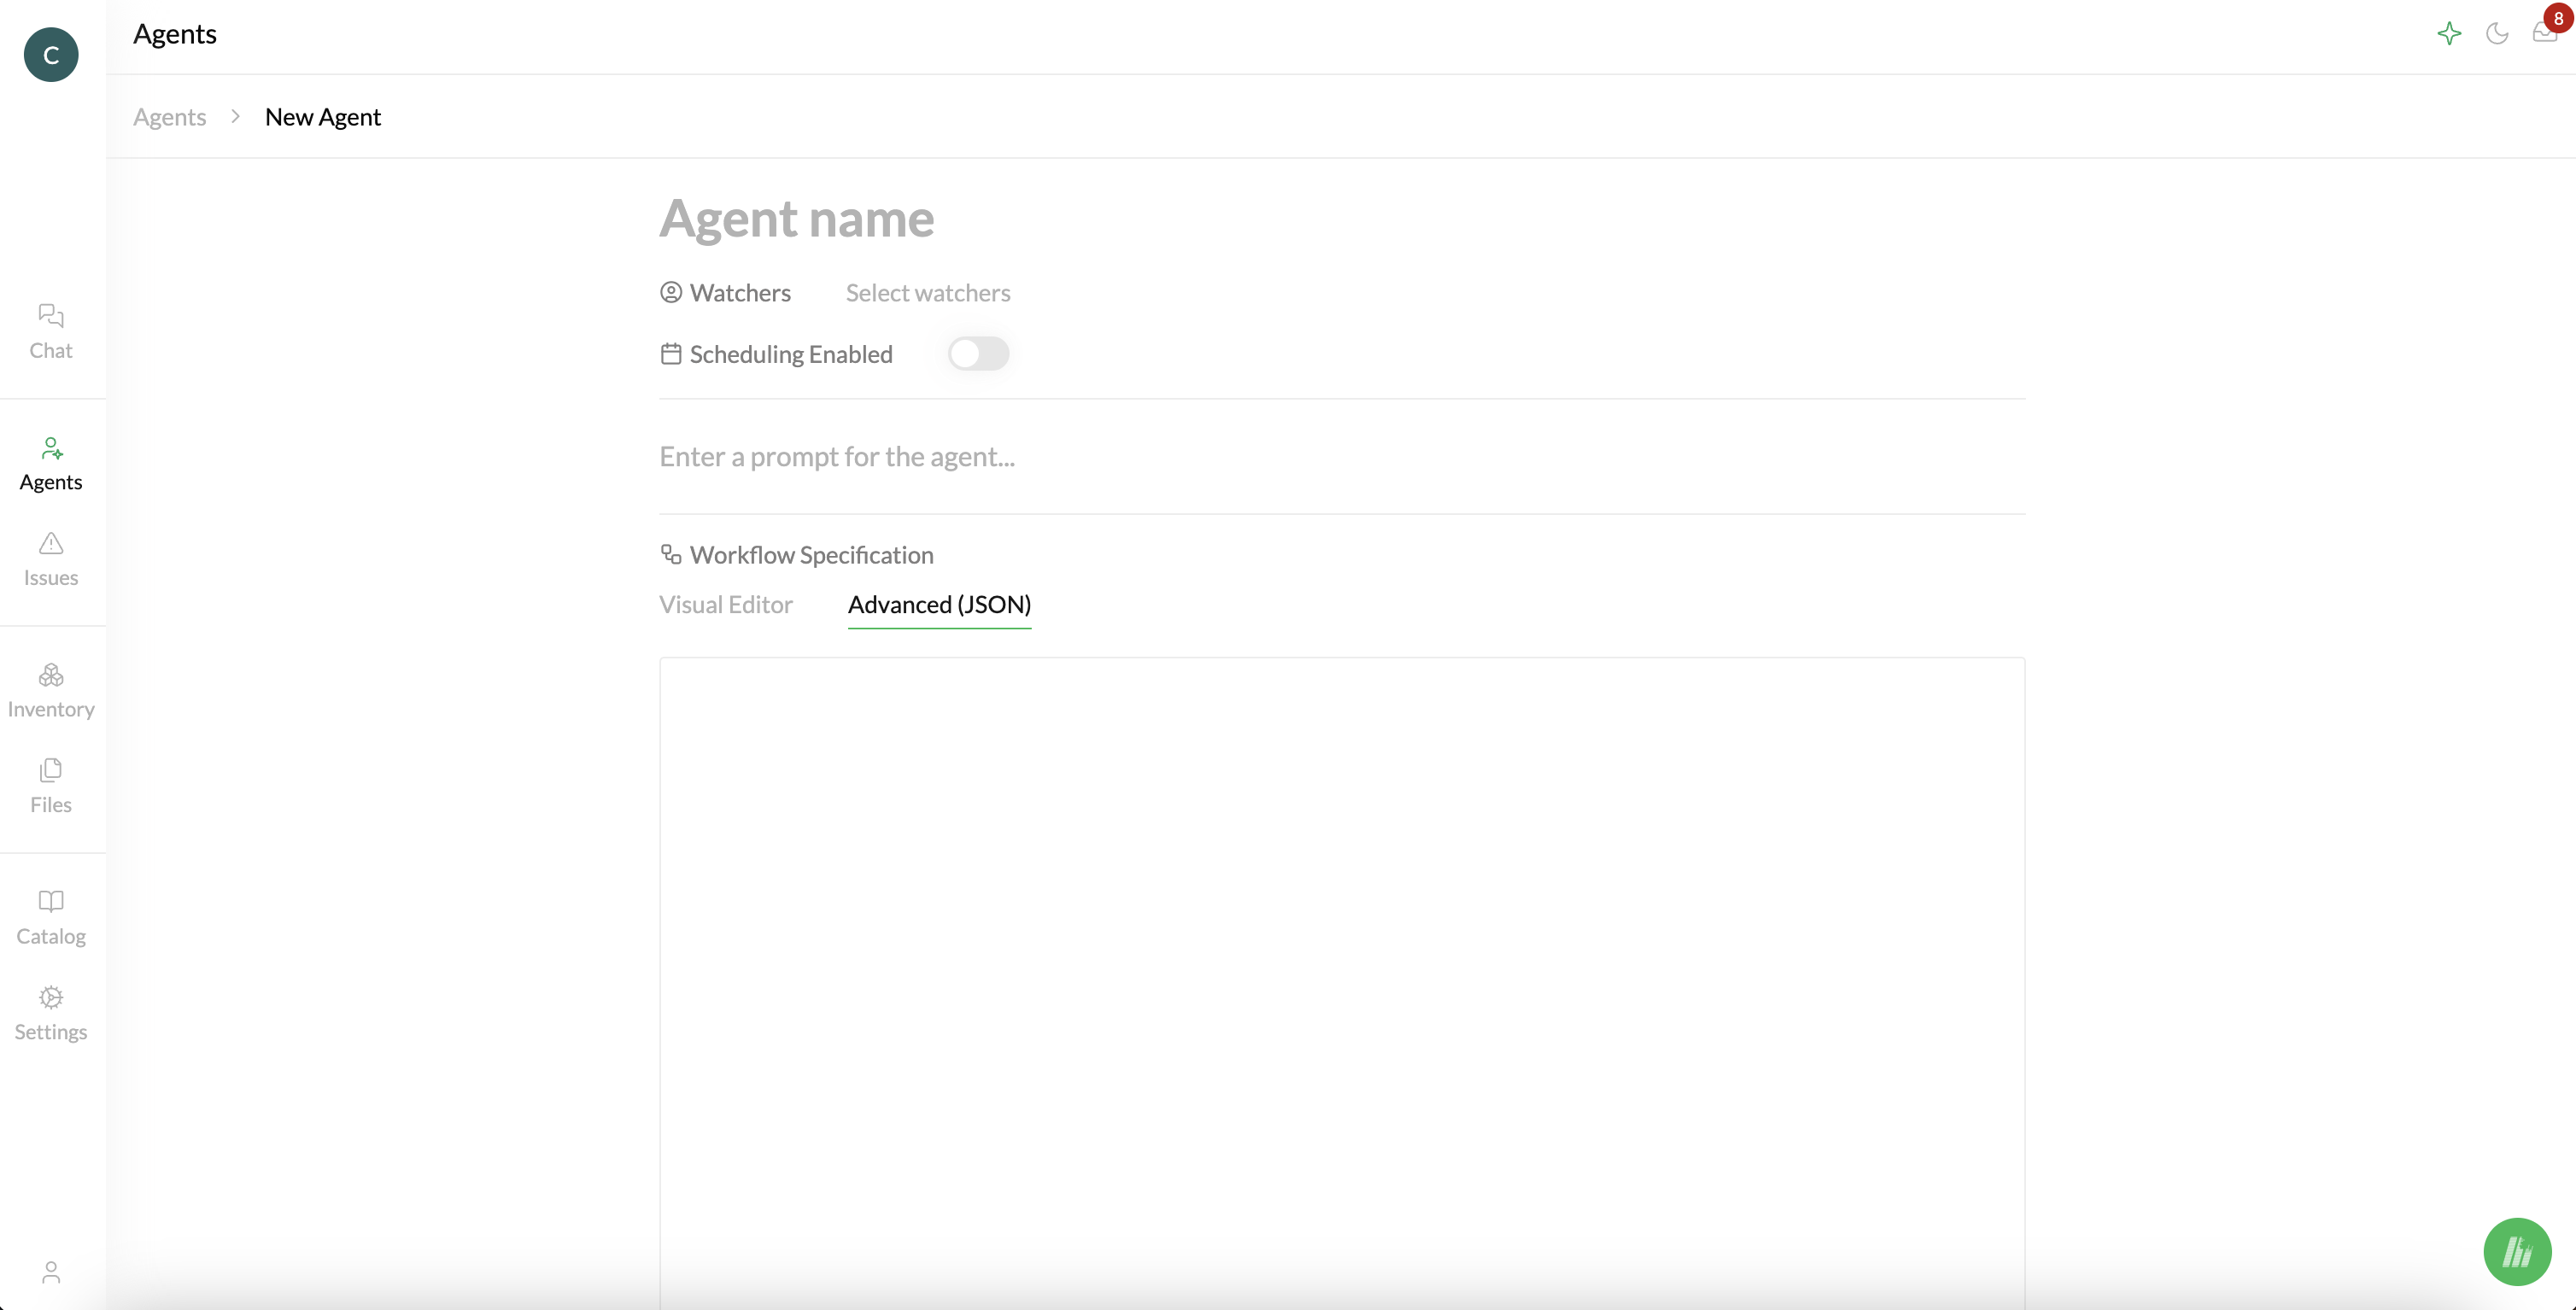
Using your Agent
Once your agent is created, navigate to the Agents tab, give the Agent an input like an attachment, and click the green button. Your agent will then run and produce your output.