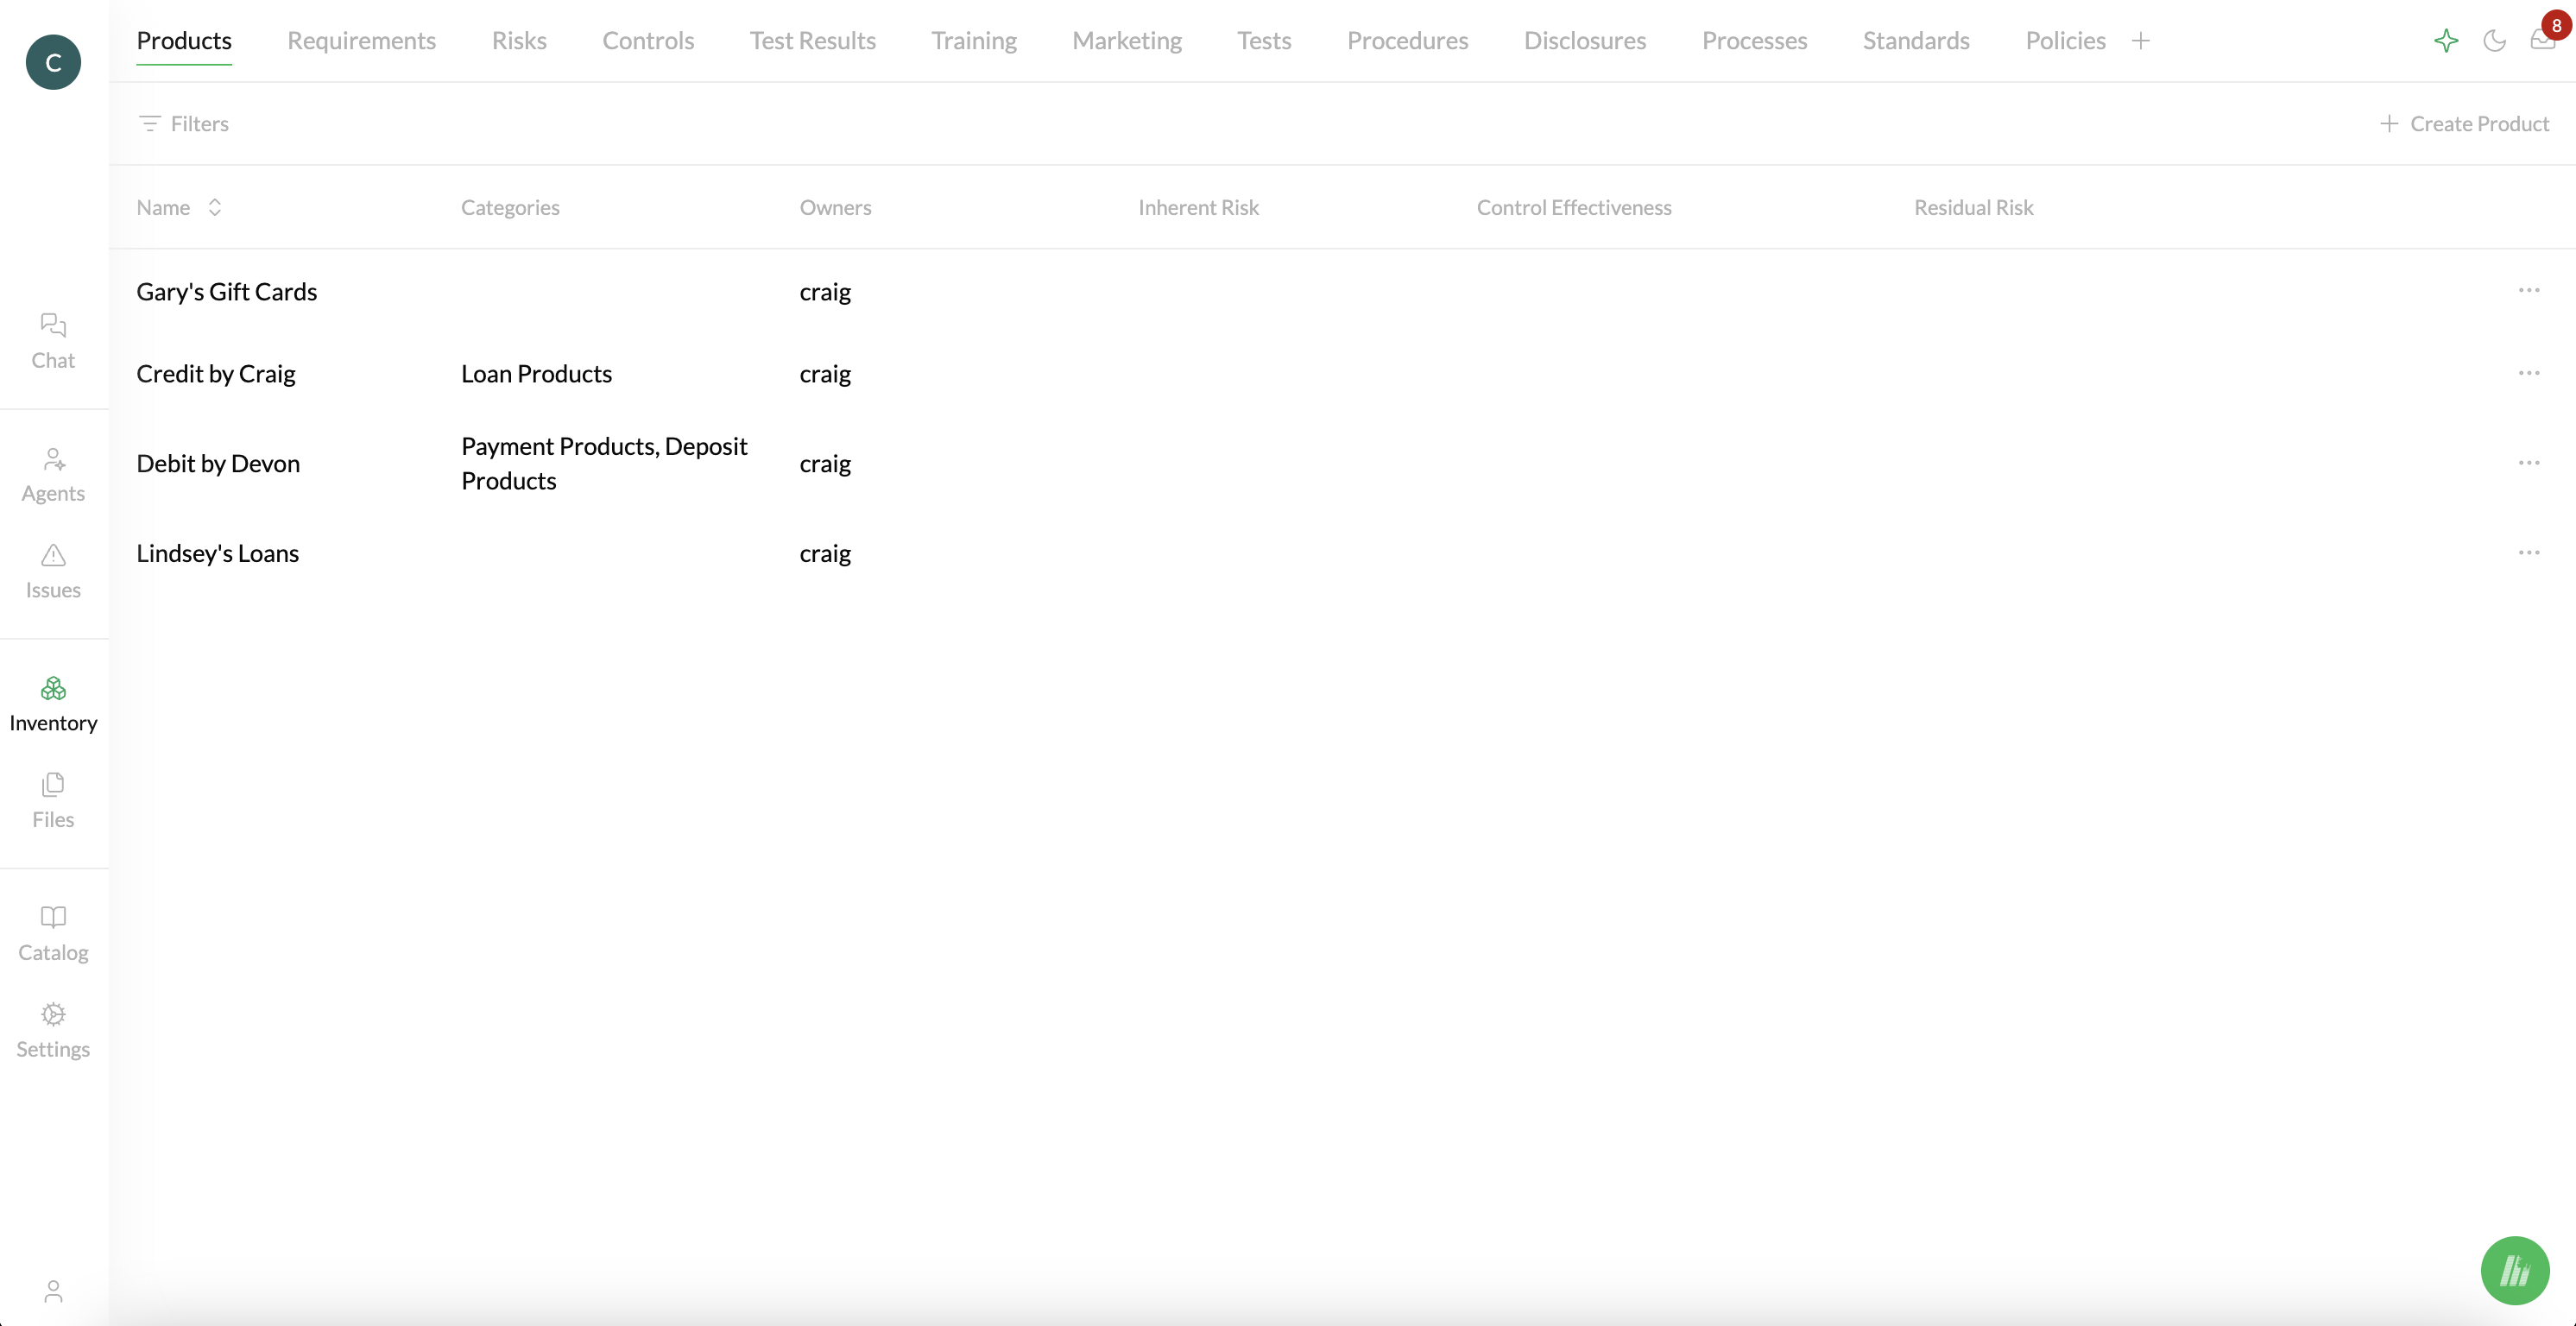
 Inventory is a collection of all of the entities that make up your compliance program. Each of these entities, like Products, Requirements, Risks, Controls, etc. is grouped in its own tab across the top of your screen. Click on any tab to view the full library of any entity type.
Inventory is your “living map”, a collection of Related Entities (i.e. Entities that have Relationships with each other). Each time you add or edit an Entity, Crosswise’s AI automatically finds and connects Related Entities. For example, when you add a Product, Crosswise finds relevant regulatory Requirements based on your description of your Product.
Entities
Creating Entities
You can create an entity by navigating to the tab for that Entity (e.g. “Controls”) and clicking on the “Create” button in the top right of the screen.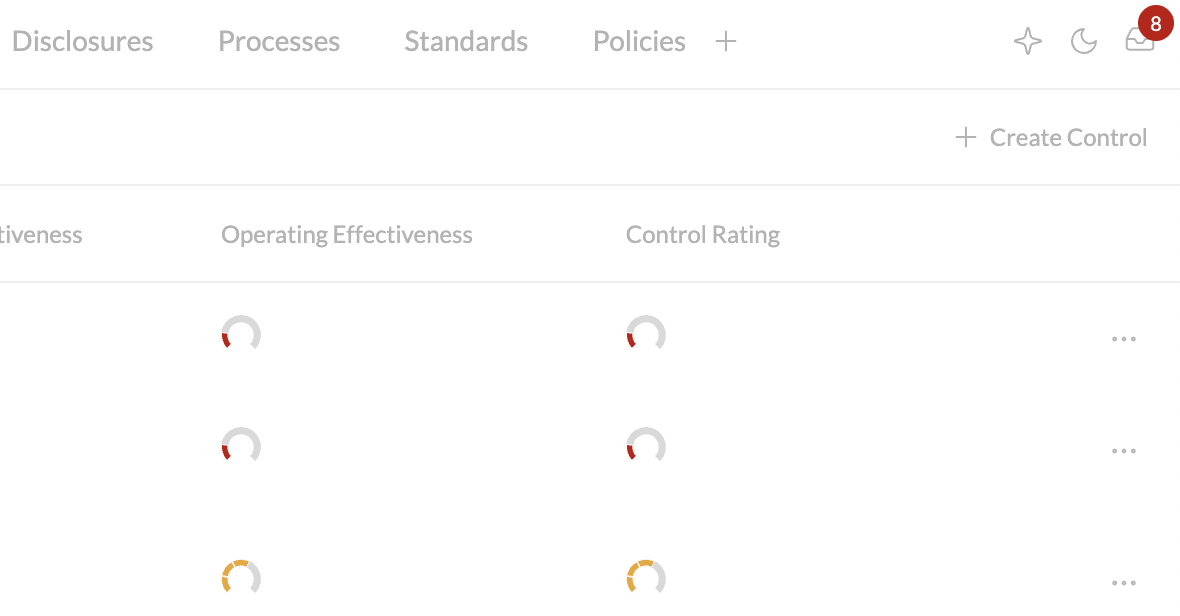
Versions and Editing Entities
Products are not currently Versioned, and so can be edited directly.
Regulatory Requirements cannot be edited since they are maintained by Crosswise. We do this to facilitate simple change management.If you prefer to use your own Requirements or Regulatory Requirements, we recommend using Custom Entities (see below).
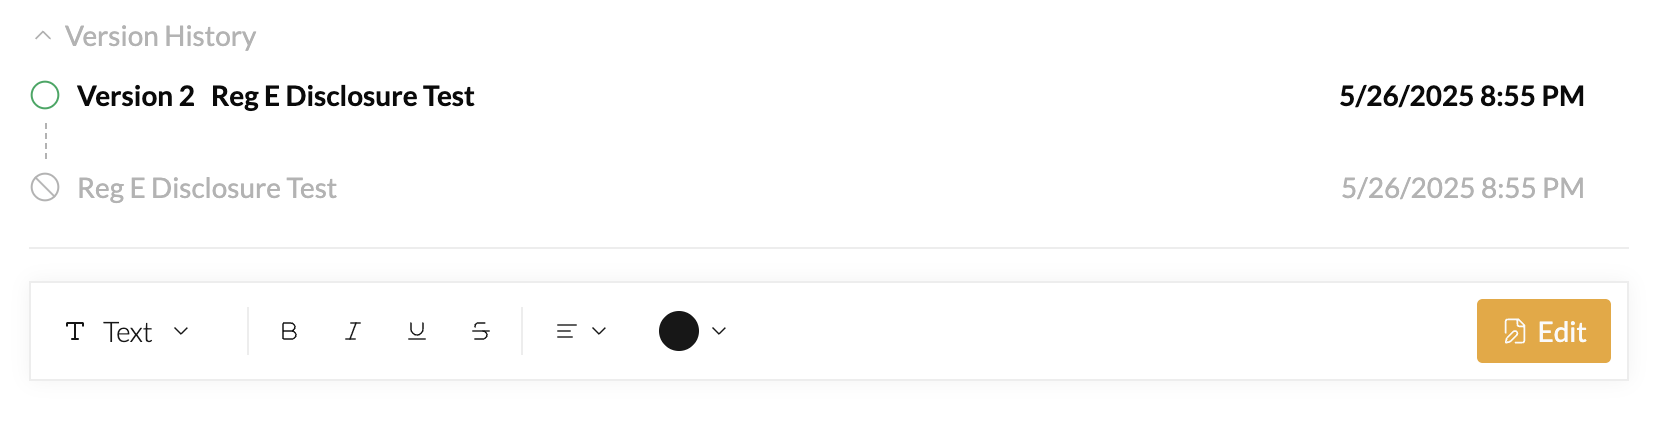
- Versions can either be in an Active, Inactive, or Draft state.
- Each entity can only have one Active version and up to one Draft version at any given time.
- Only Draft versions can be edited (this prevents you from doing things like accidentally editing an active Policy).
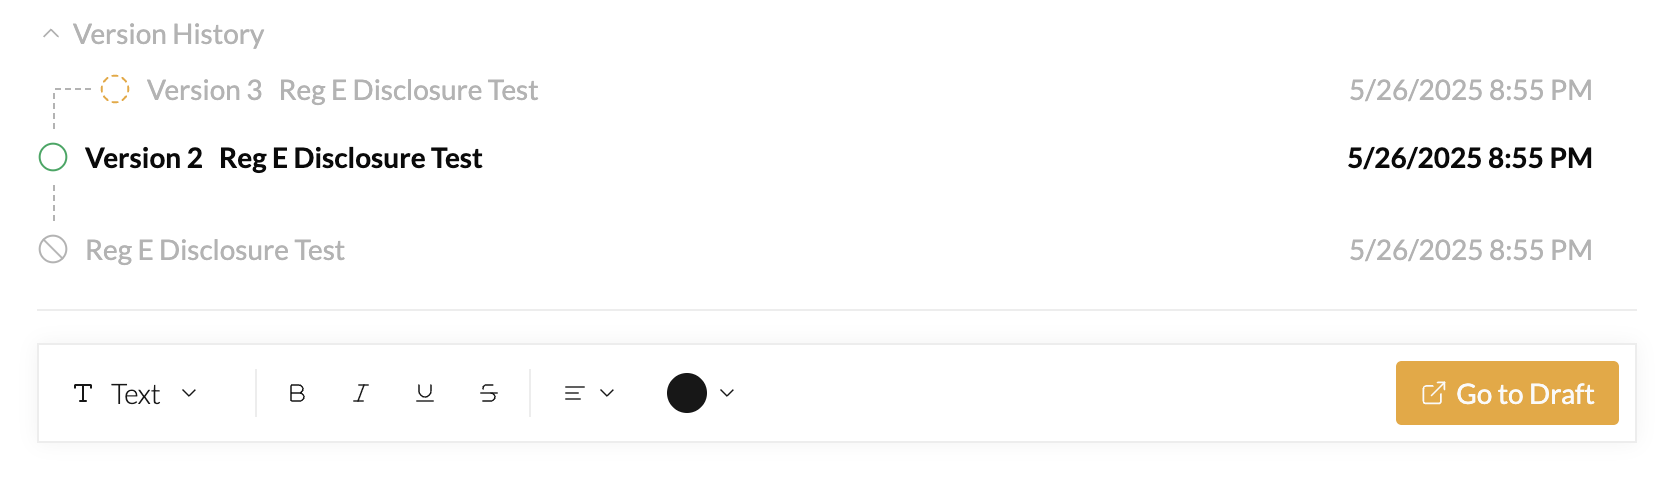
 If you’re in the Active version of an entity and you already have a Draft, you’ll see a “Go to Draft” button:
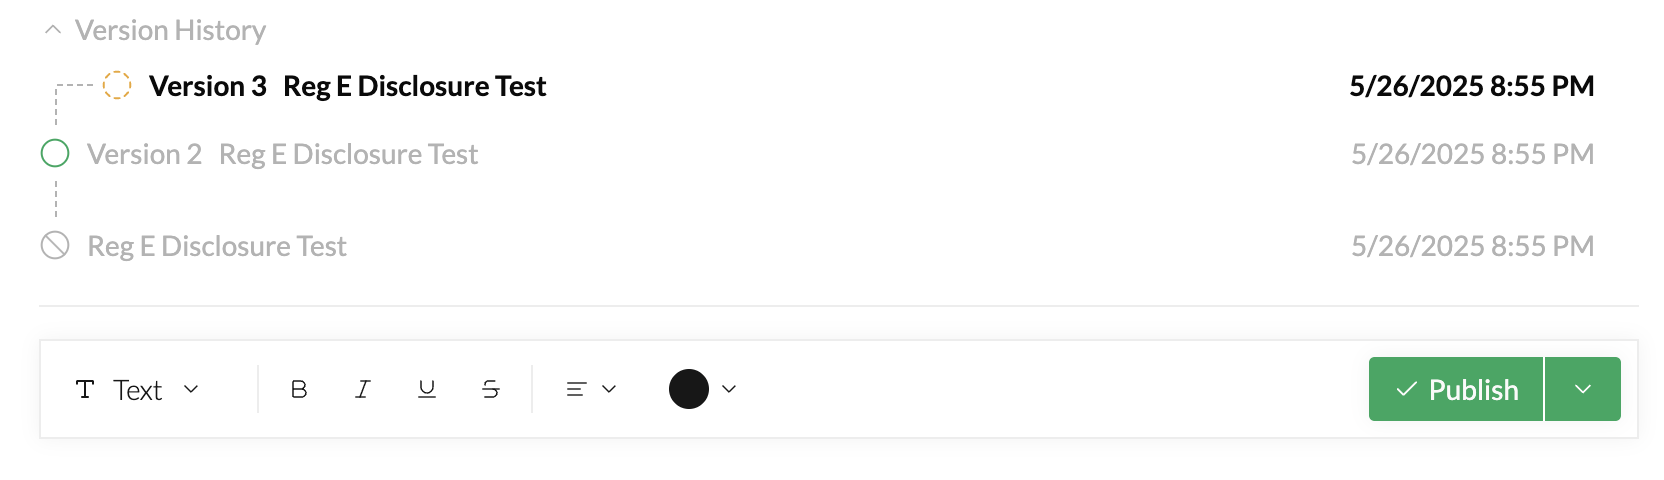
 If you’re in the Draft version of an Entity, you’ll see a Publish button. This will turn the Draft into the Active version, and make the Active version Inactive:
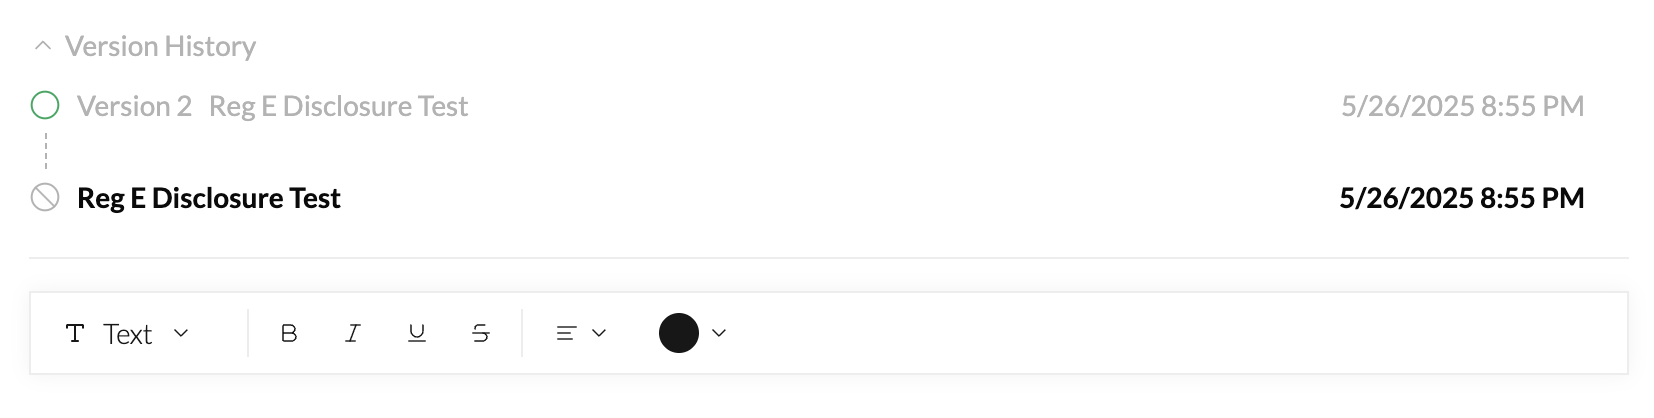
 Finally, if you’re in an Inactive version, you won’t see a button:
Editing Entities
Entities support rich text and tables, as well as slash commands (type ”/” to change the format of the line in your document).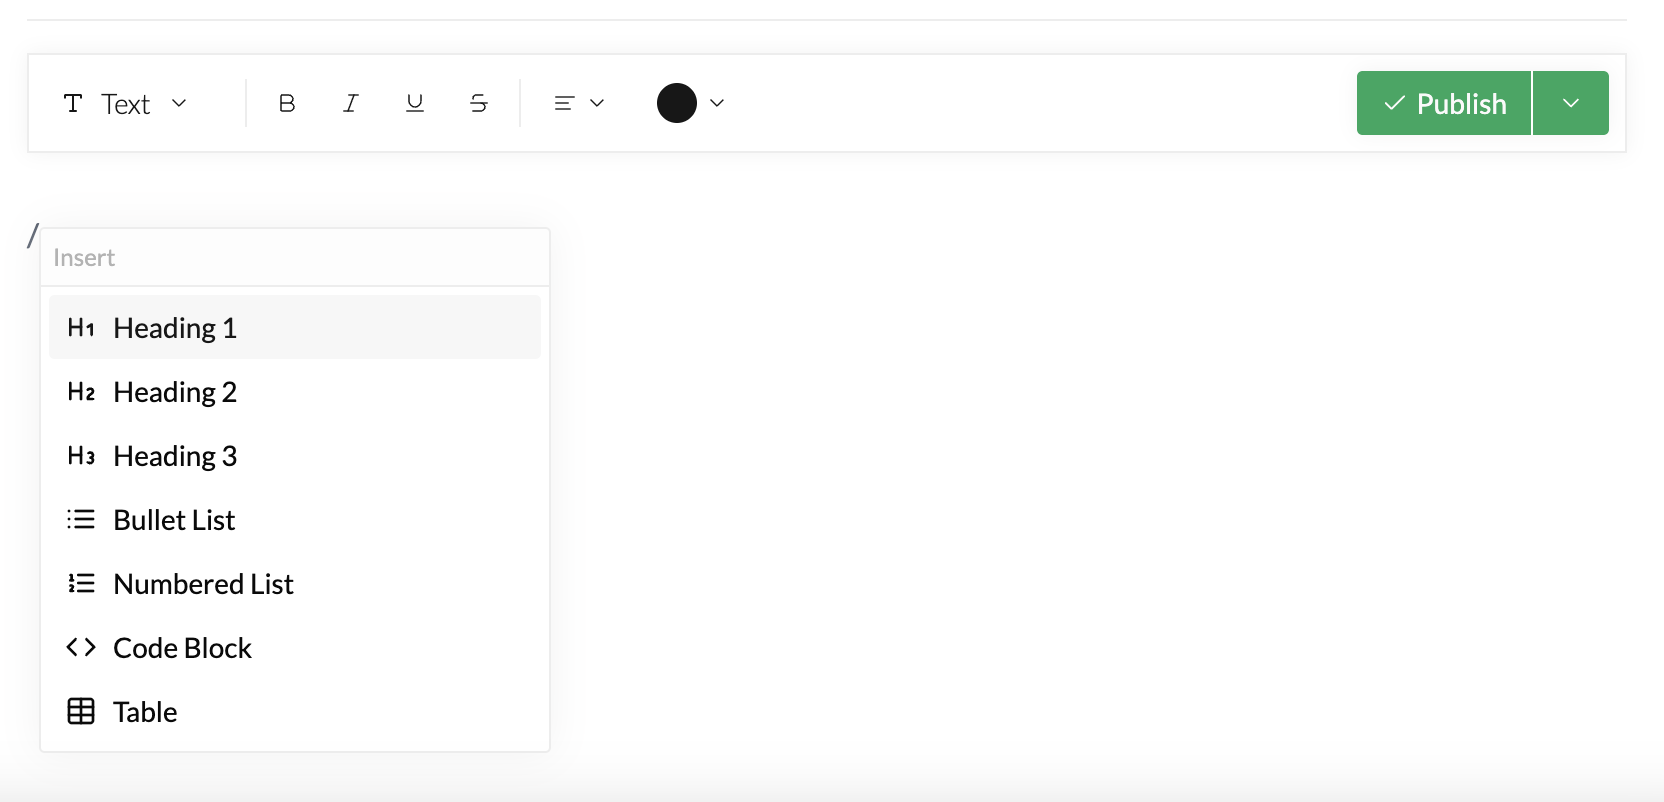
Comments
You can add and resolve comments by selecting any content inside your entity. Commenting is independent of version state, meaning you can comment on Draft, Active, and Inactive versions.

Relationships
Relationships are what make your Inventory in Crosswise a “map” as opposed to a “repository.” Relationships can show up to the left and right of an entity, and allow you to build and navigate your map.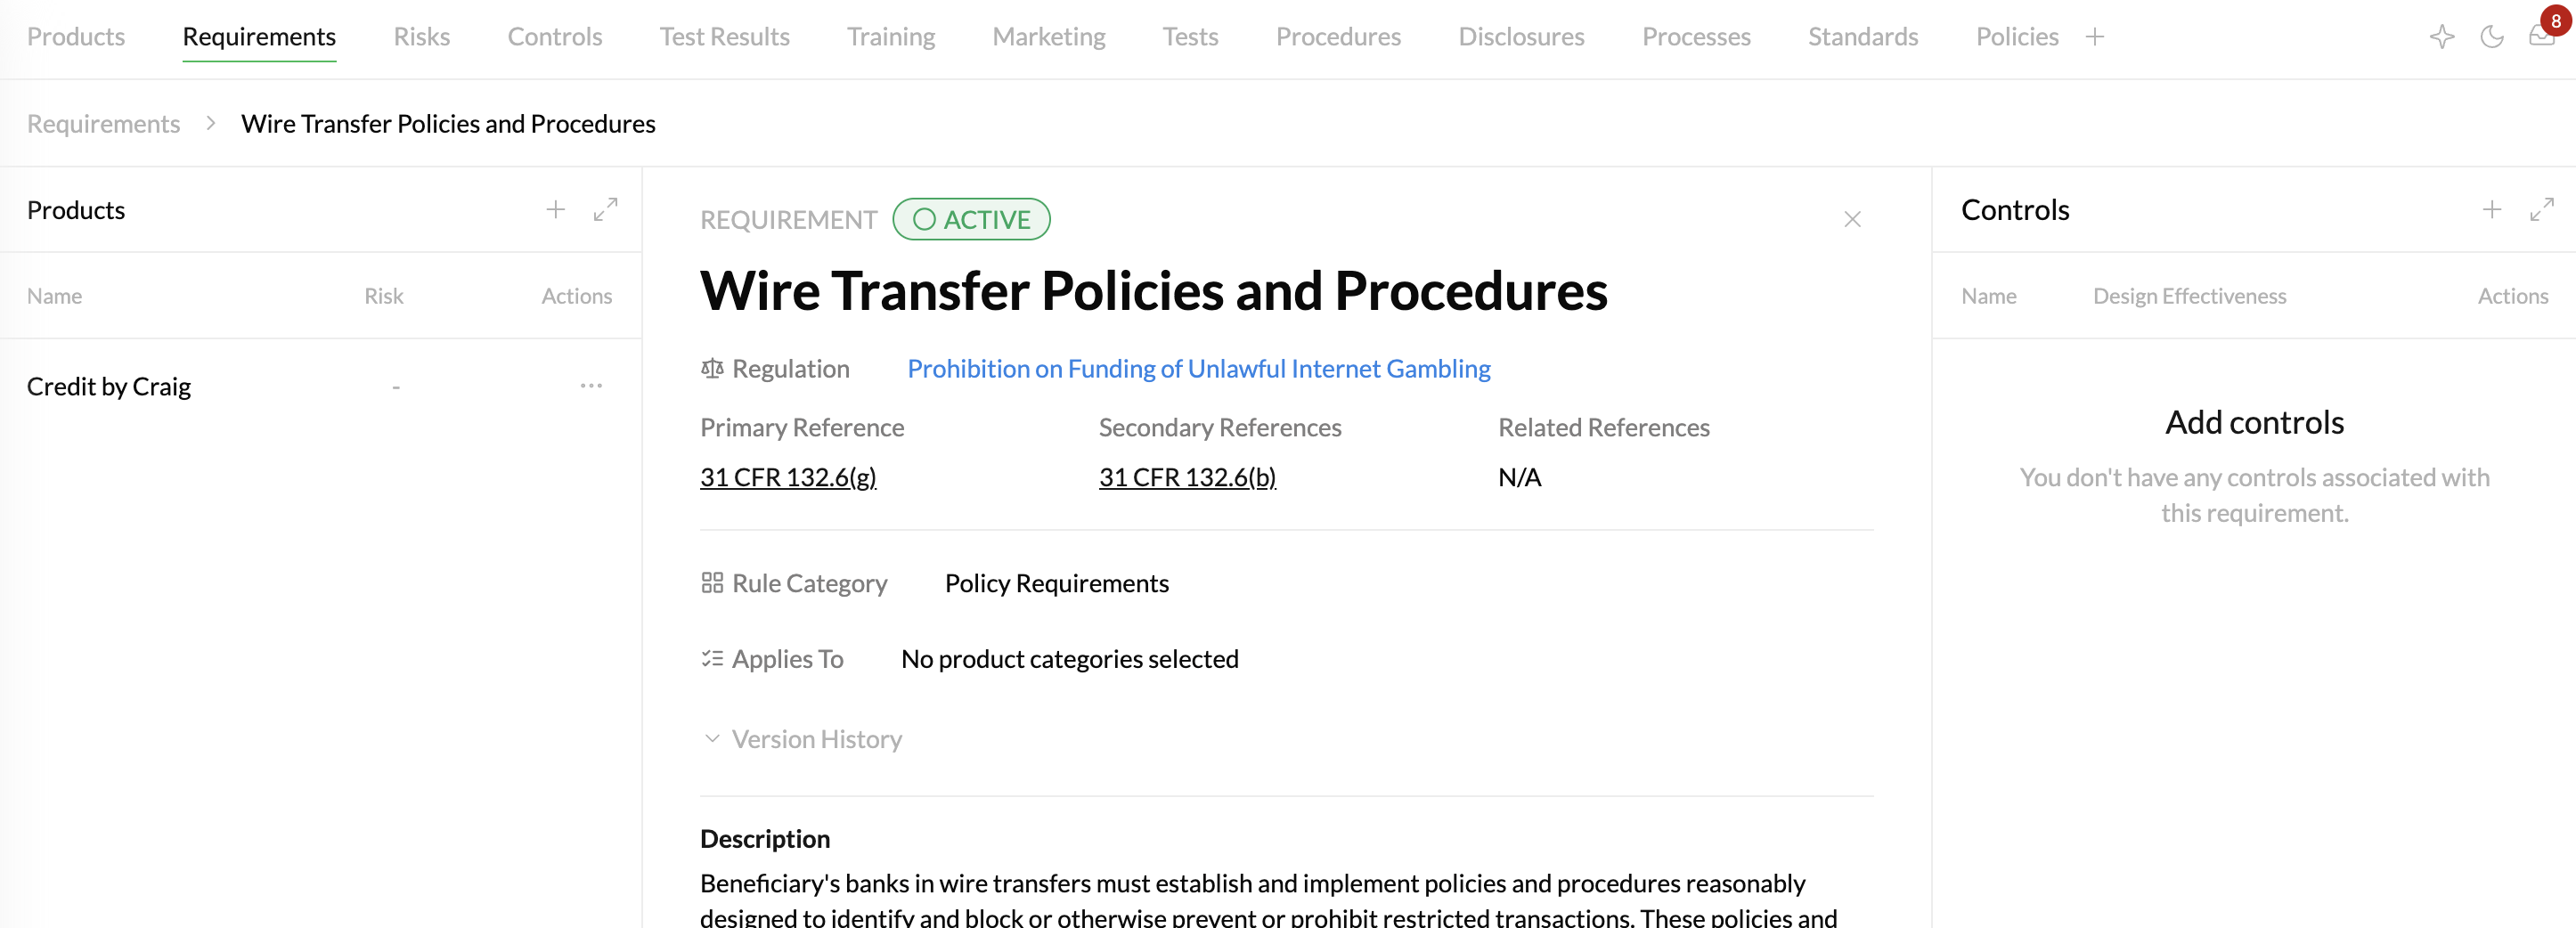
Adding and Removing Relationships
Within a related list, click the ”+” icon to add a related Entity. To remove a relationship, click the ”…” icon next to the relationship you want to remove, then click “Delete”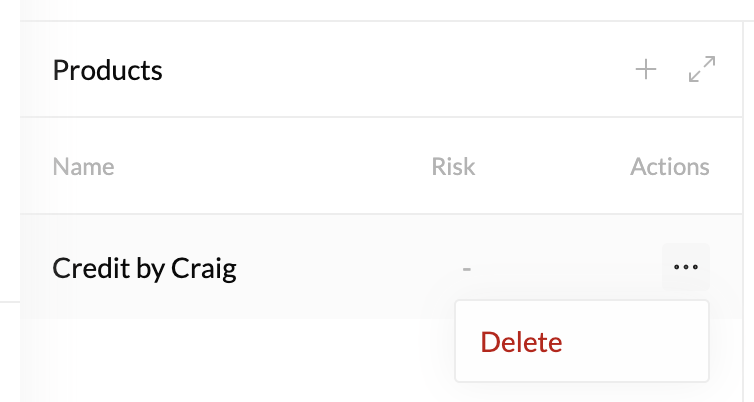
AI Suggestions
Crosswise’s AI automatically finds relationships when you create or edit any entity. The more detail you put in an entity’s description, the more accurate Crosswise’s suggestions will be.Displaying Suggestions
To see AI suggestions, click on the AI icon in the top right of your window. When the icon is green, suggestions will be displayed, and when the icon is grey, suggestions are not displayed.The suggestions toggle only impacts the display of suggestions. Whether or not the toggle is on, Crosswise will still be finding and creating suggested relationships, which will be displayed once the toggle is turned back on.

Accepting and Rejecting Suggestions
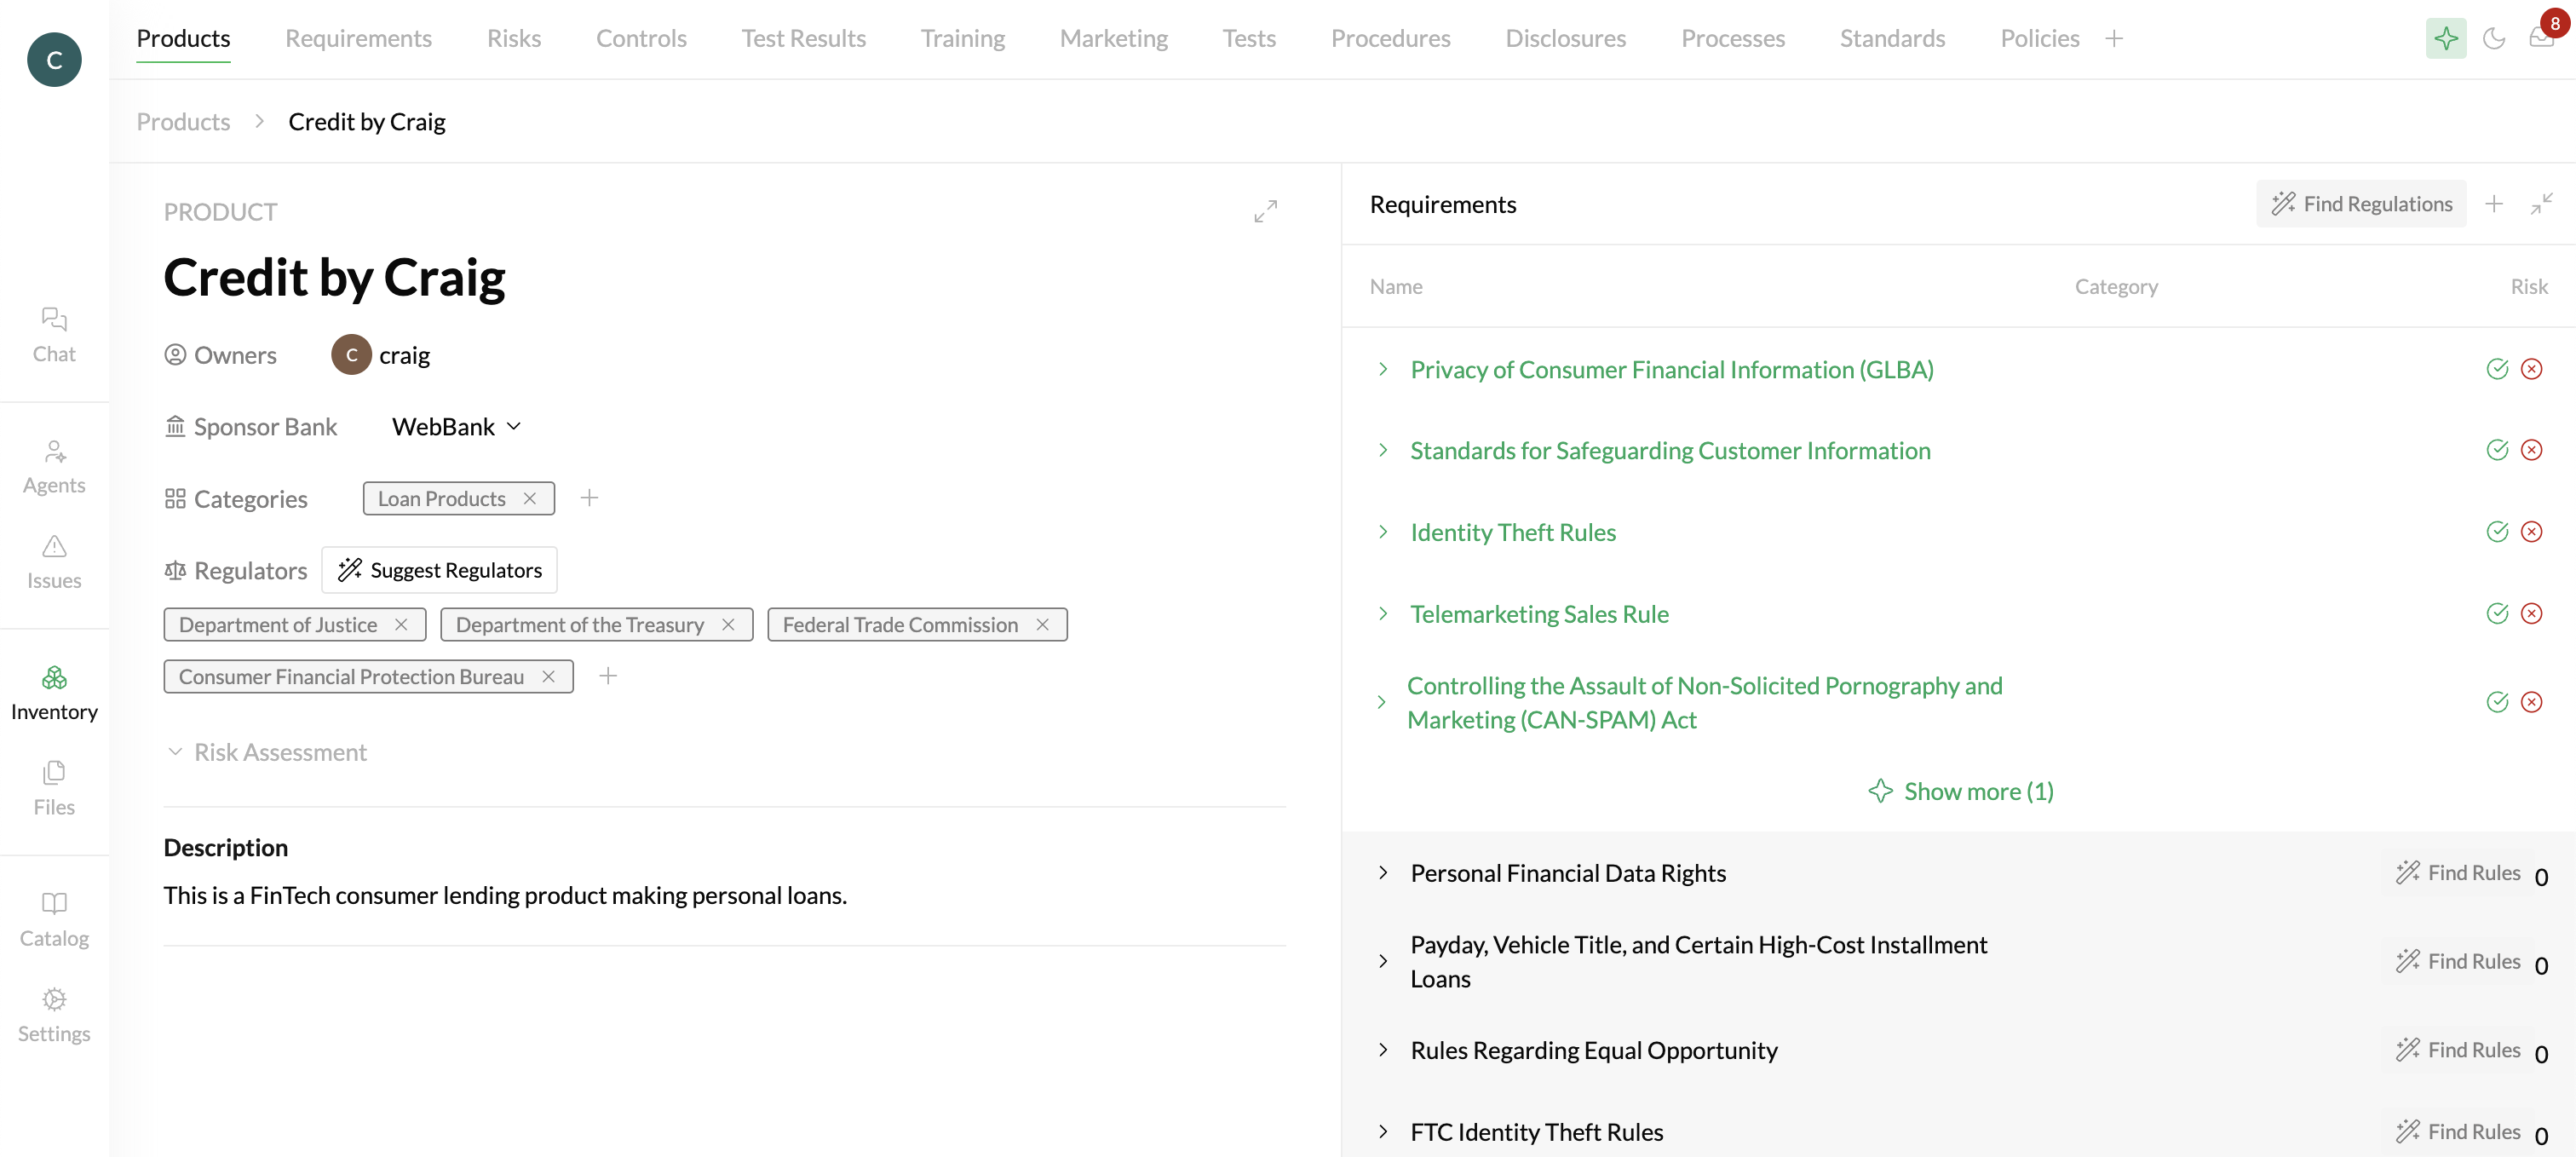
When suggestions are toggled on, you’ll see suggestions displayed in green in the related lists for any object that has suggestions. Each suggestion then needs to be “Accepted” or “Rejected” in order for the Relationship to be created in your Inventory. You can Accept or Reject any suggestion using the “check” and “x” icons next to it.If you accidentally Accept or Reject a suggestion, you can always manually add or remove the relationship by following the steps in “Adding and Removing Relationships”
Standard Entity Types
Crosswise includes several standard, or built-in, entity types. These Entity Types are included in every instance and cannot be deleted, although you can edit their metadata and description to customize them for your needs.Products
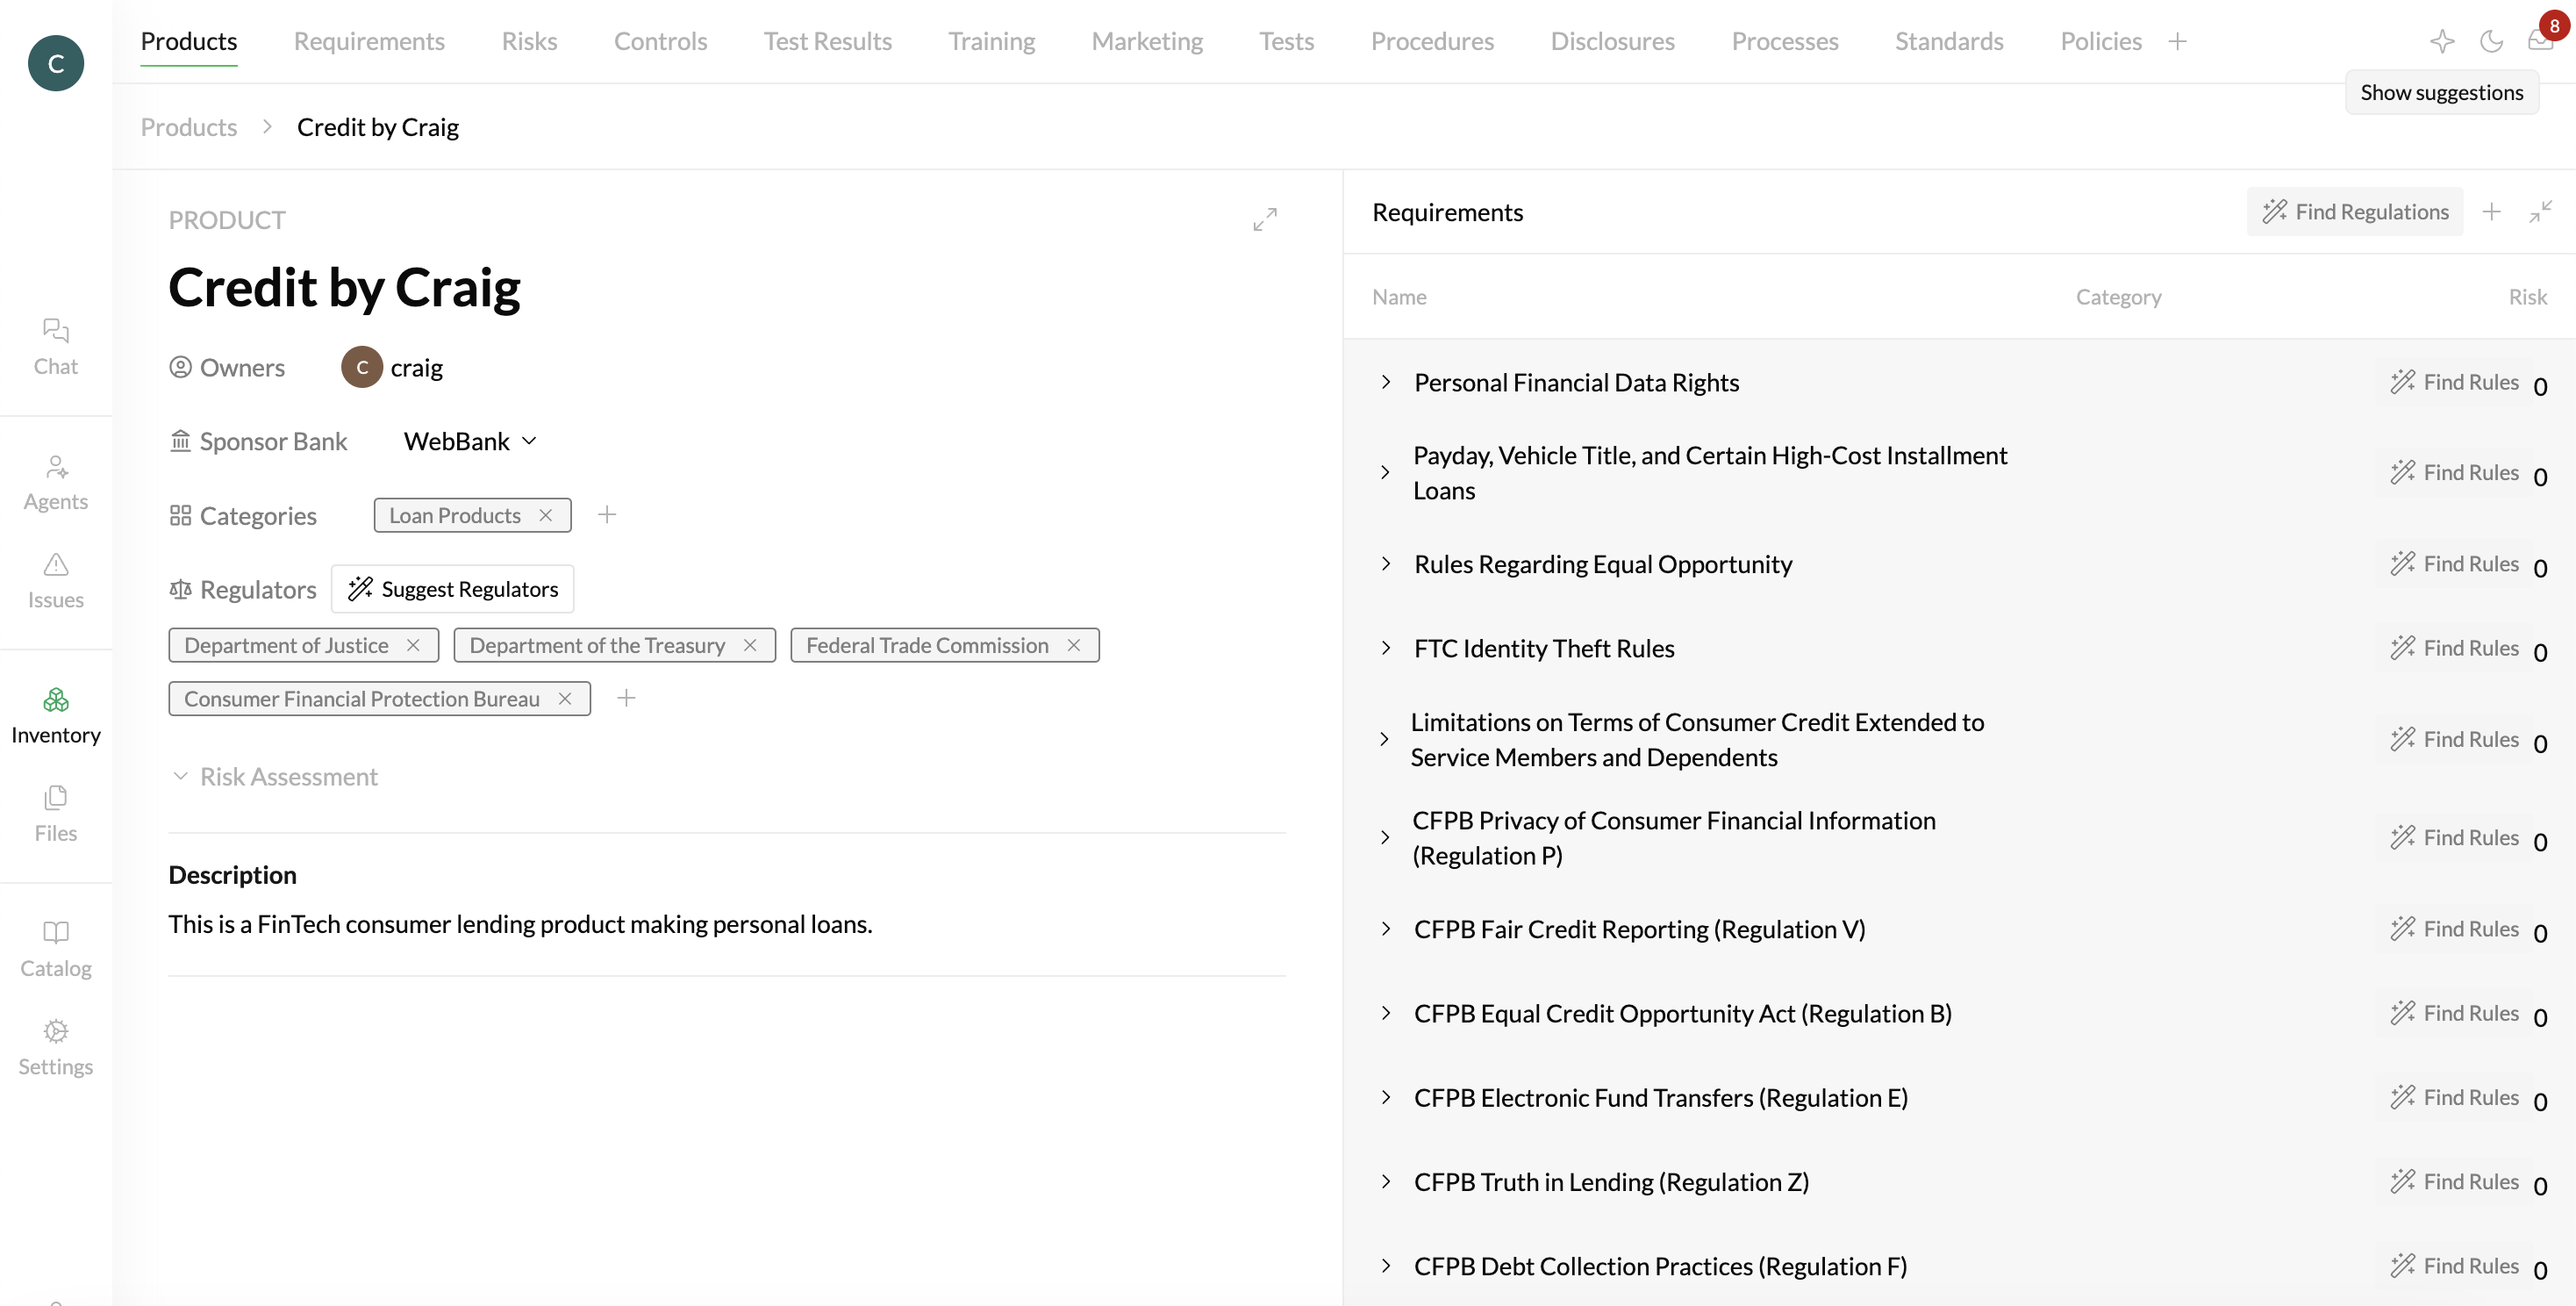
Products are a standard object that map to Regulators, Regulations, and Requirements. When you add Regulators to a Product, Crosswise will automatically run an applicability analysis to find related Regulations and Requirements.In order to limit false positives, Crosswise uses a hierarchy of Regulator -> Regulation -> Requirement when suggesting applicable Regulatory Rules. This means we will ONLY show Regulations that are within a Regulator you’ve added to the product, and we will ONLY show Requirements that are associated with Regulations you’ve already added. If you don’t see a Regulation you expected, the most likely reason is that you haven’t added the associated Regulator.
Requirements
Requirements are maintained by Crosswise, and give you access to every state and federal regulatory requirement in the United States.Risks
Controls
Custom Entity Types
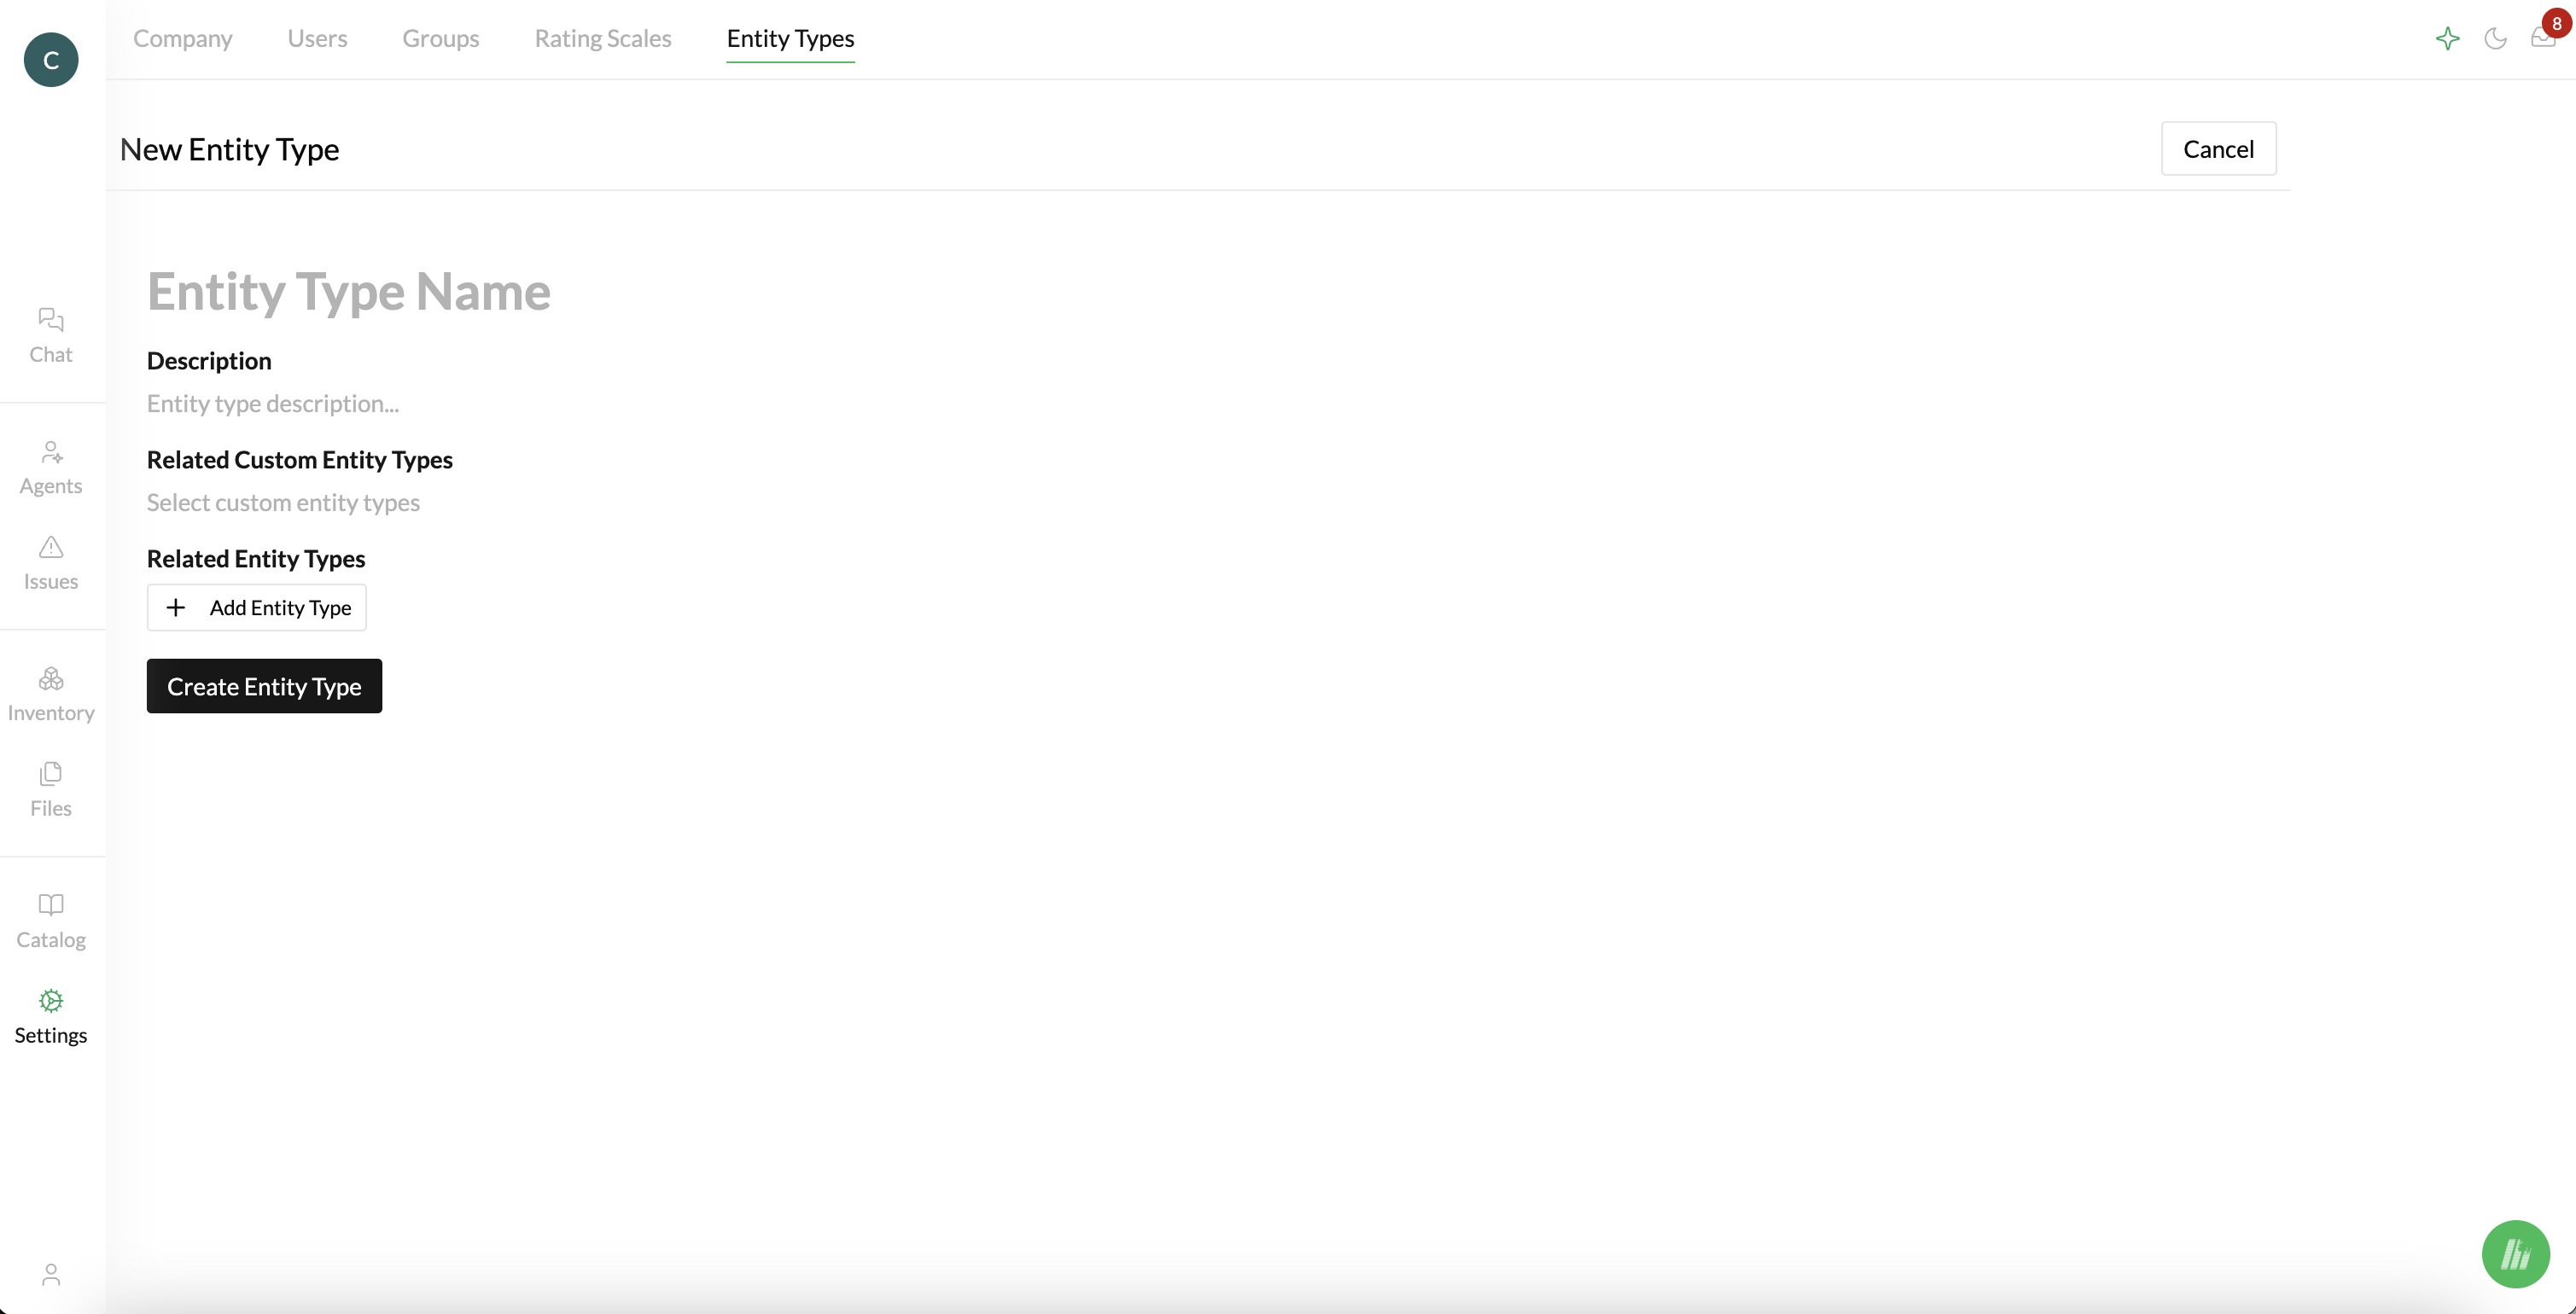
In addition to standard Entities, Crosswise also lets you create any custom entity and add it to your Inventory. This is useful for Policies, Standards, Tests, Procedures, etc. Any custom entities will be displayed as tabs across the top of your Inventory page, alongside the standard entities. To add a custom entity type, click the ”+” button in the tabs row at the top of your Inventory page. Then fill out the details in the Entity Type creation page:
 If you need to edit your Custom Entity in the future, you can do so from the Settings page.